手写简易前端框架:patch 更新(1.0 完结篇)
前面两篇文章,我们实现了 vdom 的渲染和 jsx 的编译,实现了 function 和 class 组件,这篇来实现 patch 更新。
能够做 vdom 的渲染和更新,支持组件(props、state),这就是一个比较完整的前端框架了。
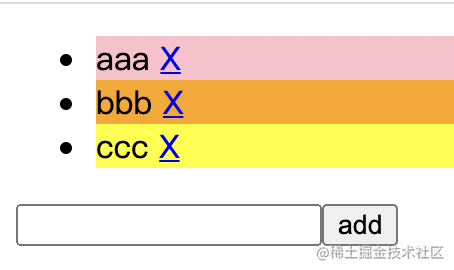
首先,我们准备下测试代码:
测试代码
在上节的基础上做下改造:

这部分代码大家经常写,就不过多解释了:
function Item(props) {
    return <li className="item" style={props.style}>{props.children}  <a href="#" onClick={props.onRemoveItem}>X </a></li>;
}

class List extends Component {
    constructor(props) {
        super();
        this.state = {
            list: [
                {
                    text: 'aaa',
                    color: 'pink'
                },
                {
                    text: 'bbb',
                    color: 'orange'
                },
                {
                    text: 'ccc',
                    color: 'yellow'
                }
            ]
        }
    }

    handleItemRemove(index) {
        this.setState({
            list: this.state.list.filter((item, i) => i !== index)
        });
    }

    handleAdd() {
        this.setState({
            list: [
                ...this.state.list,
                {
                    text: this.ref.value
                }
            ]
        });
    }

    render() {
        return <div>
            <ul className="list">
                {this.state.list.map((item, index) => {
                    return <Item style={{ background: item.color, color: this.state.textColor}} onRemoveItem={() => this.handleItemRemove(index)}>{item.text}</Item>
                })}
            </ul>
            <div>
                <input ref={(ele) => {this.ref = ele}}/>
                <button onClick={this.handleAdd.bind(this)}>add</button>
            </div>
        </div>;
    }
}

render(<List textColor={'#000'}/>, document.getElementById('root'));
前面我们已经实现了渲染,现在要实现更新,也就是 setState 之后更新页面的流程。
实现 patch
其实最简单的更新就是 setState 的时候重新渲染一次,整个替换掉之前的 dom:
setState(nextState) {
    this.state = Object.assign(this.state, nextState);

    const newDom = render(this.render());
    this.dom.replaceWith(newDom);
    this.dom = newDom;
}
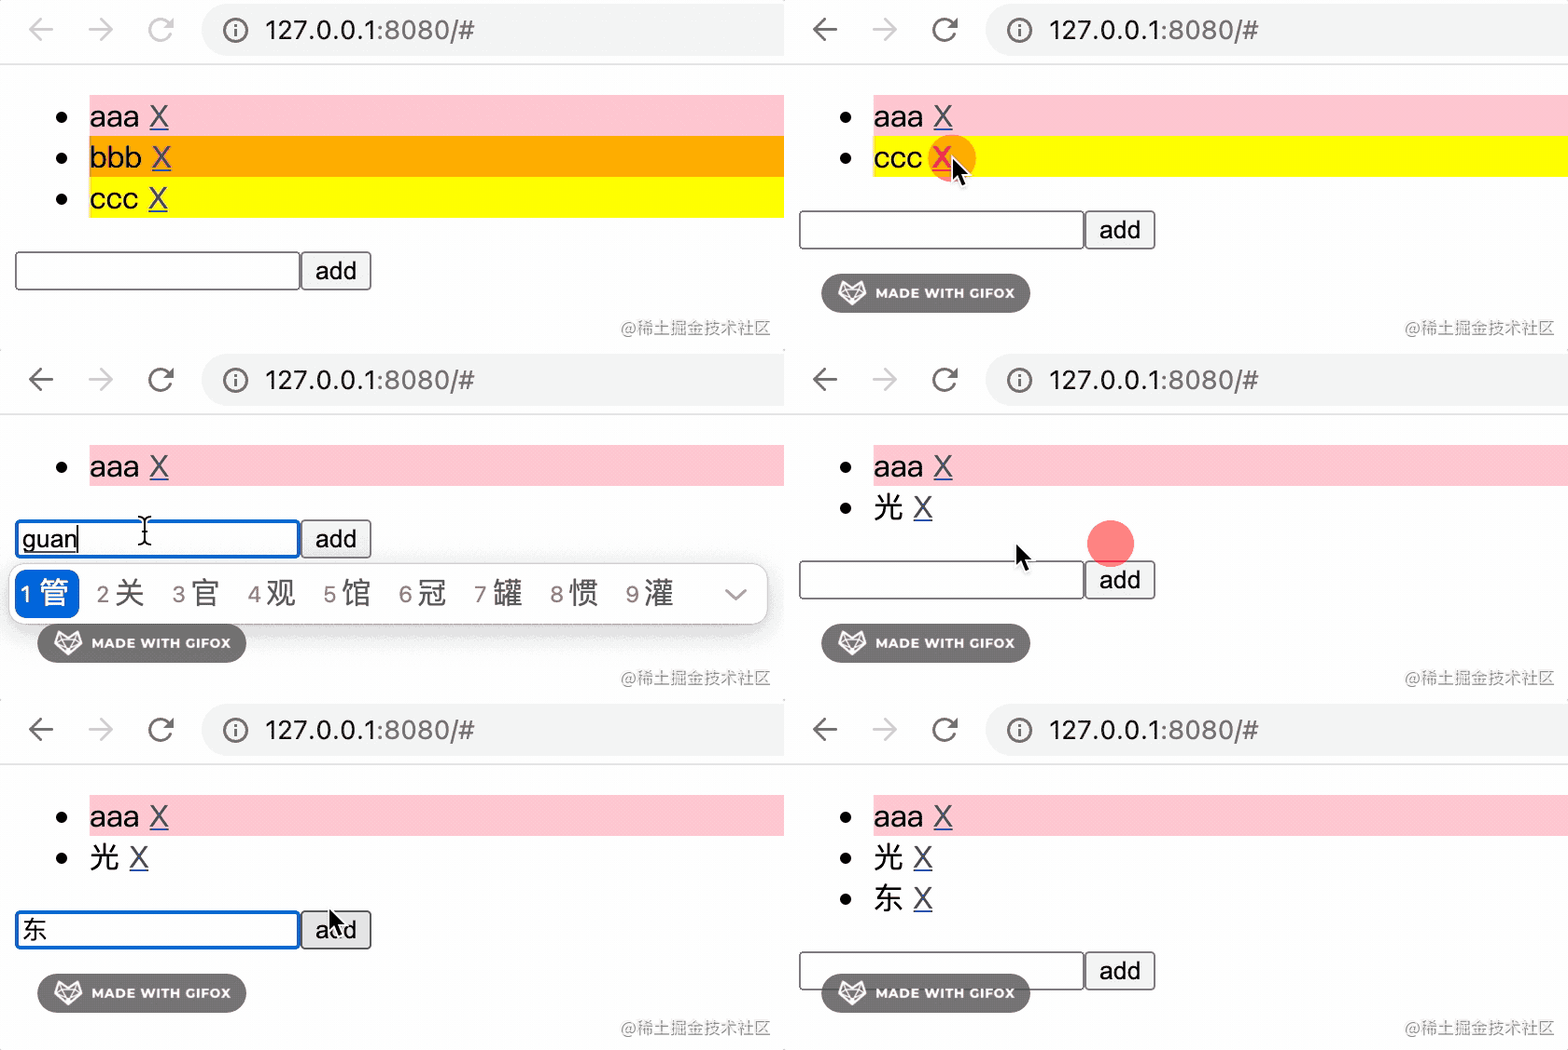
测试下:

开个玩笑。前端框架不会用这样的方式更新的,多了很多没必要的 dom 操作,性能太差。
所以还是要实现 patch,也就是:
setState(nextState) {
    this.state = Object.assign(this.state, nextState);
    if(this.dom) {
        patch(this.dom, this.render());
    }
}
「patch 功能是把要渲染的 vdom 和已有的 dom 做下 diff,只更新需要更新的 dom,也就是按需更新」。
是否要走 patch 逻辑,这里可以加一个 shouldComponentUpdate 来控制,如果 props 和 state 都没变就不用 patch 了。
setState(nextState) {
    this.state = Object.assign(this.state, nextState);

    if(this.dom && this.shouldComponentUpdate(this.props, nextState)) {
        patch(this.dom, this.render());
    }
}

shouldComponentUpdate(nextProps, nextState) {
    return nextProps != this.props || nextState != this.state;
}
patch 怎么实现呢?
渲染的时候我们是递归 vdom,对元素、文本、组件分别做不同的处理,包括创建节点和设置属性。patch 更新的时候也是同样的递归,但是对元素、文本、组件做的处理不同:
文本
判断 dom 节点是文本的话,要再看 vdom:
- 如果 vdom 不是文本节点,直接替换
- 如果 vdom 也是文本节点,那就对比下内容,内容不一样就替换
if (dom instanceof Text) {
    if (typeof vdom === 'object') {
        return replace(render(vdom, parent));
    } else {
        return dom.textContent != vdom ? replace(render(vdom, parent)) : dom;
    }
}
这里的 replace 的实现是用 replaceChild:
const replace = parent ? el => {
    parent.replaceChild(el, dom);
    return el;
} : (el => el);
然后是组件的更新:
组件
如果 vdom 是组件的话,对应的 dom 可能是同一个组件渲染的,也可能不是。
要判断下 dom 是不是同一个组件渲染出来的,不是的话,直接替换,是的话更新子元素:
怎么知道 dom 是什么组件渲染出来的呢?
我们需要在 render 的时候在 dom 上加个属性来记录:
改下 render 部分的代码,加上 instance 属性:
instance.dom.__instance = instance;
然后更新的时候就可以对比下 constructor 是否一样,如果一样说明是同一个组件,那 dom 是差不多的,再 patch 子元素:
if (dom.__instance && dom.__instance.constructor == vdom.type) {
    dom.__instance.componentWillReceiveProps(props);

    return patch(dom, dom.__instance.render(), parent);
}
否则,不是同一个组件的话,那就直接替换了:
class 组件的替换:
if (Component.isPrototypeOf(vdom.type)) {
    const componentDom = renderComponent(vdom, parent);
    if (parent){
        parent.replaceChild(componentDom, dom);
        return componentDom;
    } else {
        return componentDom
    }
}
function 组件的替换:
if (!Component.isPrototypeOf(vdom.type)) {
    return patch(dom, vdom.type(props), parent);
}
所以,组件更新逻辑就是这样的:
function isComponentVdom(vdom) {
    return typeof vdom.type == 'function';
}

if(isComponentVdom(vdom)) {
    const props = Object.assign({}, vdom.props, {children: vdom.children});
    if (dom.__instance && dom.__instance.constructor == vdom.type) {
        dom.__instance.componentWillReceiveProps(props);
        return patch(dom, dom.__instance.render(), parent);
    } else if (Component.isPrototypeOf(vdom.type)) {
        const componentDom = renderComponent(vdom, parent);
        if (parent){
            parent.replaceChild(componentDom, dom);
            return componentDom;
        } else {
            return componentDom
        }
    } else if (!Component.isPrototypeOf(vdom.type)) {
        return patch(dom, vdom.type(props), parent);
    }
}
还有元素的更新:
元素
如果 dom 是元素的话,要看下是否是同一类型的:
- 不同类型的元素,直接替换
if (dom.nodeName !== vdom.type.toUpperCase() && typeof vdom === 'object') {
    return replace(render(vdom, parent));
} - 同一类型的元素,更新子节点和属性
更新子节点我们希望能重用的就重用,所以在 render 的时候给每个元素加上一个标识 key:
instance.dom.__key = vdom.props.key;
更新的时候如果找到 key 就重用,没找到就 render 一个新的。
首先我们把所有的子节点的 dom 放到一个对象里:
const oldDoms = {};
[].concat(...dom.childNodes).map((child, index) => {
    const key = child.__key || `__index_${index}`;
    oldDoms[key] = child;
});
[].concat 是为了拍平数组,因为数组的元素也是数组。
默认 key 设置为 index。
然后循环渲染 vdom 的 children,如果找到对应的 key 就直接复用,然后继续 patch 它的子元素。如果没找到,就 render 一个新的:
[].concat(...vdom.children).map((child, index) => {
    const key = child.props && child.props.key || `__index_${index}`;
    dom.appendChild(oldDoms[key] ? patch(oldDoms[key], child) : render(child, dom));
    delete oldDoms[key];
});
把新的 dom 从 oldDoms 里去掉。剩下的就是不再需要的 dom,直接删掉即可:
for (const key in oldDoms) {
    oldDoms[key].remove();
}
删掉之前还可以执行下组件的 willUnmount 的生命周期函数:
for (const key in oldDoms) {
    const instance = oldDoms[key].__instance;
    if (instance) instance.componentWillUnmount();

    oldDoms[key].remove();
}
子节点处理完了,再处理下属性:
这个就是把旧的属性删掉,设置新的 props 即可:
for (const attr of dom.attributes) dom.removeAttribute(attr.name);
for (const prop in vdom.props) setAttribute(dom, prop, vdom.props[prop]);
setAttribute 之前我们只做了 style、event listener 和普通属性的处理,还需要再完善下:
每次 event listener 都要 remove 再 add,这样 render 多次也始终只有一个:
function isEventListenerAttr(key, value) {
    return typeof value == 'function' && key.startsWith('on');
}

if (isEventListenerAttr(key, value)) {
    const eventType = key.slice(2).toLowerCase();

    dom.__handlers = dom.__handlers || {};
    dom.removeEventListener(eventType, dom.__handlers[eventType]);

    dom.__handlers[eventType] = value;
    dom.addEventListener(eventType, dom.__handlers[eventType]);
}
把各种事件的 listener 放到 dom 的 __handlers 属性上,每次删掉之前的,换成新的。
然后再支持下 ref 属性:
function isRefAttr(key, value) {
    return key === 'ref' && typeof value === 'function';
}

if(isRefAttr(key, value)) {
    value(dom);
}
也就是这样的功能:
<input ref={(ele) => {this.ref = ele}}/>
再支持下 key 的设置:
if (key == 'key') {
    dom.__key = value;
}
还有一些特殊属性的设置,包括 checked、value、className:
if (key == 'checked' || key == 'value' || key == 'className') {
    dom[key] = value;
}
其余的就都是 setAttribute 设置了:
function isPlainAttr(key, value) {
    return typeof value != 'object' && typeof value != 'function';
}

if (isPlainAttr(key, value)) {
    dom.setAttribute(key, value);
}
所以现在的 setAttribute 是这样的:
const setAttribute = (dom, key, value) => {
    if (isEventListenerAttr(key, value)) {
        const eventType = key.slice(2).toLowerCase();
        dom.__handlers = dom.__handlers || {};
        dom.removeEventListener(eventType, dom.__handlers[eventType]);
        dom.__handlers[eventType] = value;
        dom.addEventListener(eventType, dom.__handlers[eventType]);
    } else if (key == 'checked' || key == 'value' || key == 'className') {
        dom[key] = value;
    } else if(isRefAttr(key, value)) {
        value(dom);
    } else if (isStyleAttr(key, value)) {
        Object.assign(dom.style, value);
    } else if (key == 'key') {
        dom.__key = value;
    } else if (isPlainAttr(key, value)) {
        dom.setAttribute(key, value);
    }
}
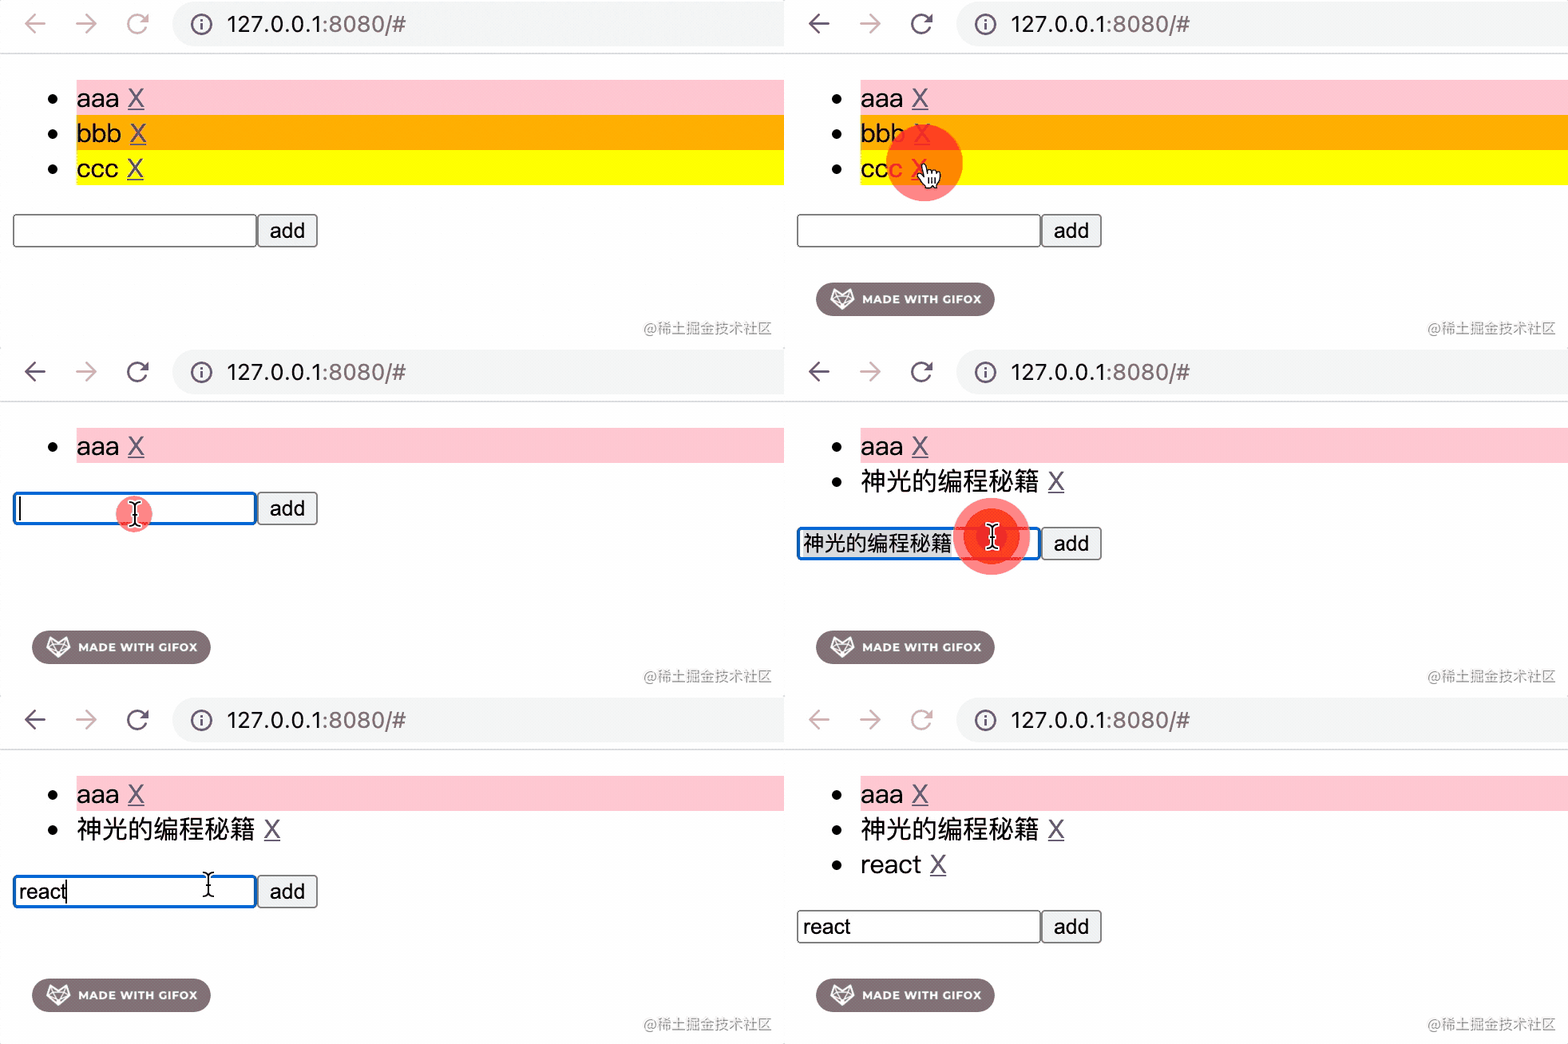
文本、组件、元素的更新逻辑都写完了,我们来测试下吧:

我们实现了 patch 的功能,也就是细粒度的按需更新。
代码上传到了 github:https://github.com/QuarkGluonPlasma/frontend-framework-exercize
总结
patch 和 render 一样,也是递归的处理元素、组件、文本。
patch 时要对比下 dom 中的和要渲染的 vdom 的一些信息,然后决定渲染新的 dom,还是复用已有 dom,所以 render 的时候要在 dom 上记录 instance、key 等信息。
元素的子元素更新要支持 key做标识,这样可以复用之前的元素,减少 dom 的创建。属性设置的时候 event listener 要每次删掉已有的再添加一个新的,保证只会有一个。
实现了 vdom 的渲染和更新,实现了组件和生命周期,这已经是一个完整的前端框架了。
这是我们实现的前端框架的第一个版本,叫做 Dong 1.0。
但是,现在的前端框架是递归的 render 和 patch 的,如果 vdom 树太大,会计算量很大,性能不会很好,后面的 Dong 2.0 我们再把 vdom 改造成 fiber,然后实现下 hooks 的功能。