搭建简易画板(一)
一、准备画布
1 . 创建一个简易的画布
.canvas{
  width: '100vw';
  height: '100vh'
}
<canvas className='canvas' id="drawCanvas" ></canvas>
2 . 监听canvas上的移动事件。我们可以判断下当前设备是否支持PointerEvent事件,因为Pointer Events 事件将鼠标(Mouse)、触摸(touch) 和触控笔(pen)三种事件整合为统一的 API。不支持的话我们用mouseEvent事件监听,mouseButtonDown变量记录下当前用户是否在绘图,mousedown按下画笔开始绘图,mouseup鼠标放开停止绘图。在绘制的过程中我们需要记录下当前鼠标的位置。
function handleMouseDown(event: any) {
  mouseButtonDown = true;
}

function handleMouseMove(event) {
  if (mouseButtonDown) {
      lastPt = {
          x: event.pageX,
          y: event.pageY
      }
  }
}

function handleMouseUp(event: any) {
  mouseButtonDown = false;
  lastPt = {x: null, y: null};
}

useEffect(() => {
  let canvas: any = document.getElementById('drawCanvas');
  if (!canvas) {
      return
  }
  mouseButtonDown = false;
  if (window.PointerEvent) {
      canvas.addEventListener('pointerdown', handleMouseDown, false);
      canvas.addEventListener('pointermove', handleMouseMove, false);
      canvas.addEventListener('pointerup', handleMouseUp, false);
  } else {
      canvas.addEventListener('mousedown', handleMouseDown, false);
      canvas.addEventListener('mousemove', handleMouseMove, false);
      canvas.addEventListener('mouseup', handleMouseUp, false);
  }
}, [])
3 . 增加绘图函数
function draw(pathInfo, useCtx) {
  if (pathInfo.beginX !== null && pathInfo.beginY !== null) {
      const {lastX, lastY, beginX, beginY, strokeStyle, lineWidth, drawType} = pathInfo;
      useCtx.beginPath(); // 开始绘图
      useCtx.lineCap = 'round'; // 绘制线的两头是圆形,其他形状也可以,不加的话,在线条宽度很大的情况下,画出来的线条横向一条一条的
      useCtx.moveTo(beginX, beginY); // 将鼠标移动到beginX, beginY
      useCtx.lineTo(lastX, lastY); // 指定lastX, lastY为终点(lineTo不会绘制路径)
      useCtx.strokeStyle = strokeStyle || 'green'; // 设置线的颜色
      useCtx.lineWidth = lineWidth || 3; // 设置线的宽度
      useCtx.stroke(); // 绘制路径
      useCtx.closePath(); // 结束绘制,不结束的话,无法改变后面新增路径的颜色大小等数据
  }
}
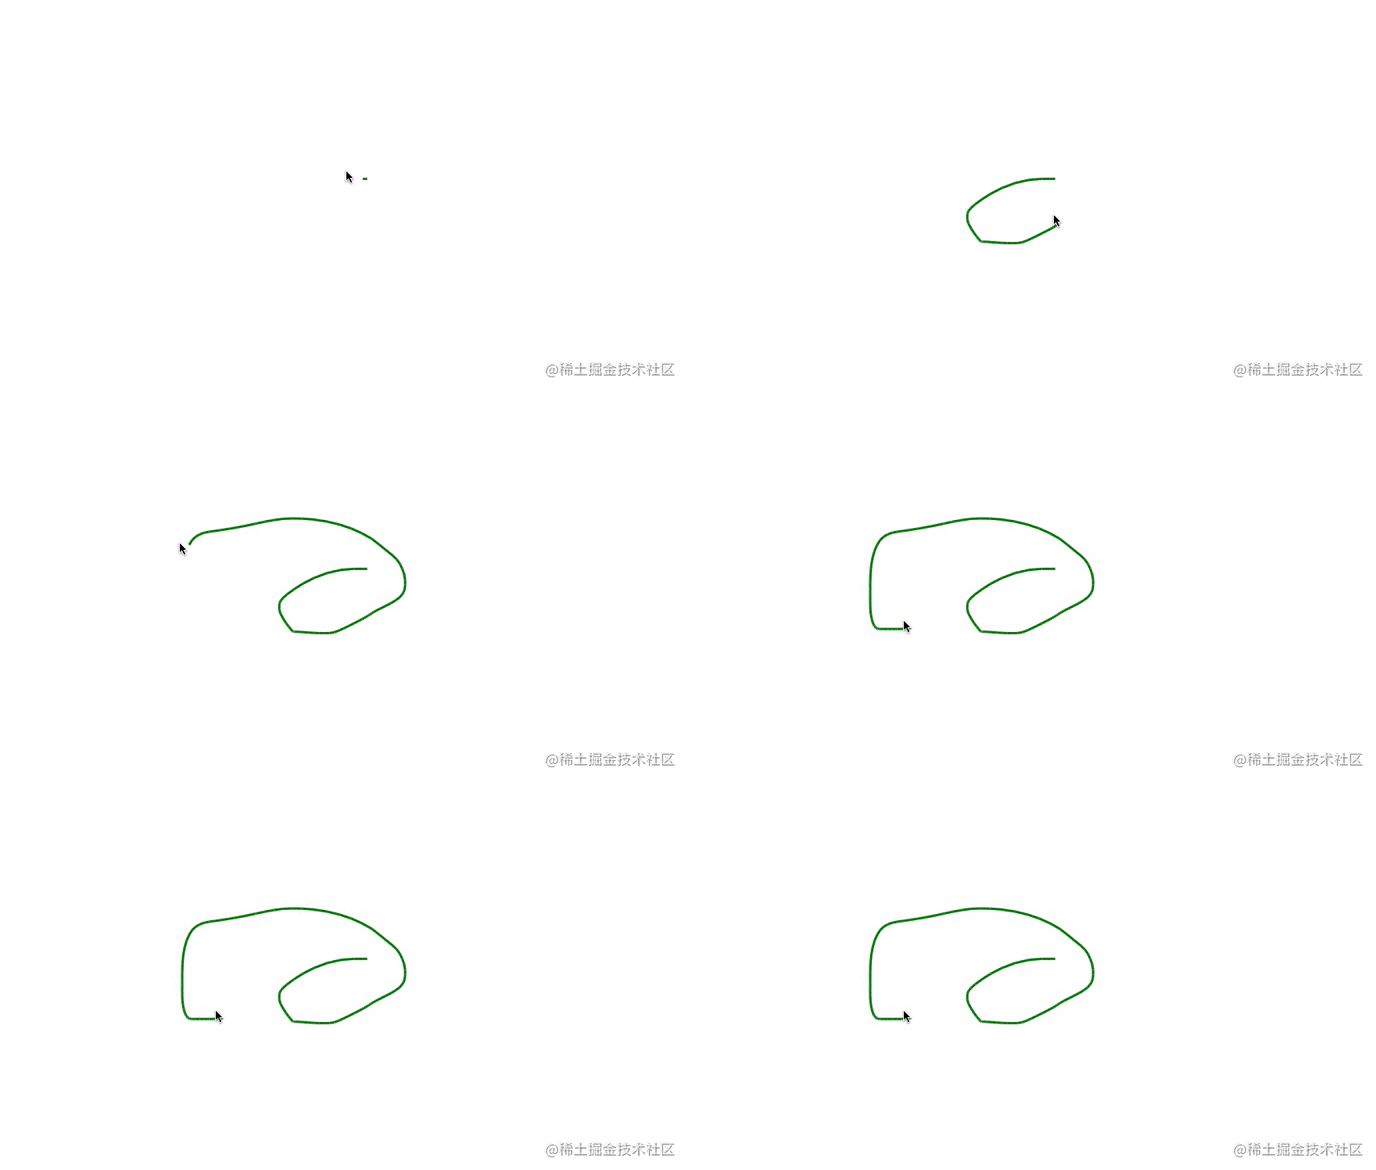
一个超简易的画板就实现了,我们滑动鼠标看下效果。
咦,发现鼠标滑过的位置和线条真正绘制的位置不一样,并且绘制的线条也比较模糊。经查阅,这是因为两个问题:1. 没有处理dpr,2. canvas的宽高设置不正确。
位置不正确是因为 canvas.width是画布的大小,决定了多少像素可以显示在画布上。canvas.style,width是浏览器渲染的canvas尺寸,也就是屏幕上元素显示的大小。当只设置css宽高时,canvas画布会使用默认的宽300px,高150px,然后根据设置的css宽高进行一定比例转化,造成相应的拉伸变形,展示的位置不正确。所以我们画布的宽高在canvas标签中设置,或者在js中动态设置就能解决位置偏移问题。另外,规范中描述画布的宽高在指定的时候必须是非负整数,如果带上百分号或者其他单位,会解析错误,直接使用默认数值。
像素不清晰是因为 canvas 绘制时独立于设备像素比(devicePixelRatio)。受到 devicePixelRatio 影响,在高清显示屏上,一个逻辑像素对应多个实际的设备物理像素。例如在 devicePixelRatio 为 2 的设备上,css 设置的 100px,意味着设备上要填充 200px 物理像素。解决思路就是将canvas的style中的width和height值设置为要显示的大小,然后将canvas的width和height的值,根据dpi的倍数进行放大。这时,画布中所有线条文字等都需要等比放大,用scale方法将画布中所有内容放大。
let dpr = window.devicePixelRatio || 1;
let canvas: any = document.getElementById('drawCanvas');

// 设置实际尺寸
canvas.width = (document.body.clientWidth - 20) * dpr;
canvas.height = (document.body.clientHeight - 20) * dpr;
canvas.style.width = (document.body.clientWidth - 20) + 'px';
canvas.style.height = (document.body.clientHeight - 20) + 'px'

// 让canvas坐标系统使用css像素
let ctx = canvas.getContext('2d');
ctx.scale(dpr, dpr);
现在看起来效果可以了,我们给画布加一个一键清空的操作。
4 . 简易清空操作
canvas有三种清空方式。
(1) 简单填充 使用一个新的背景色简单地填充整个画布,这样就可以清除当前内容
ctx.fillStyle = '#fff';

let rect = this.canvas.getBoundingClientRect();

ctx.fillRect(rect.x, rect.y, rect.width, rect.height)
(2)重置画布高度 当画布的宽或高被重置时,当前画布内容就会被移除。
let rect = this.canvas.getBoundingClientRect();

canvas.width = rect.width;

canvas.height = rect.height;
(3)使用clearRect函数 clearRect() 函数可以指定起始点的x, y 位置以及宽度和高度来清除画布
let rect = this.canvas.getBoundingClientRect();

this.ctx.clearRect(rect.x, rect.y, rect.width, rect.height);
好了,到目前我们实现了一个画板,能在上面绘制清空,现在来为这个画板加一些其他操作吧。
二、添加自定义属性
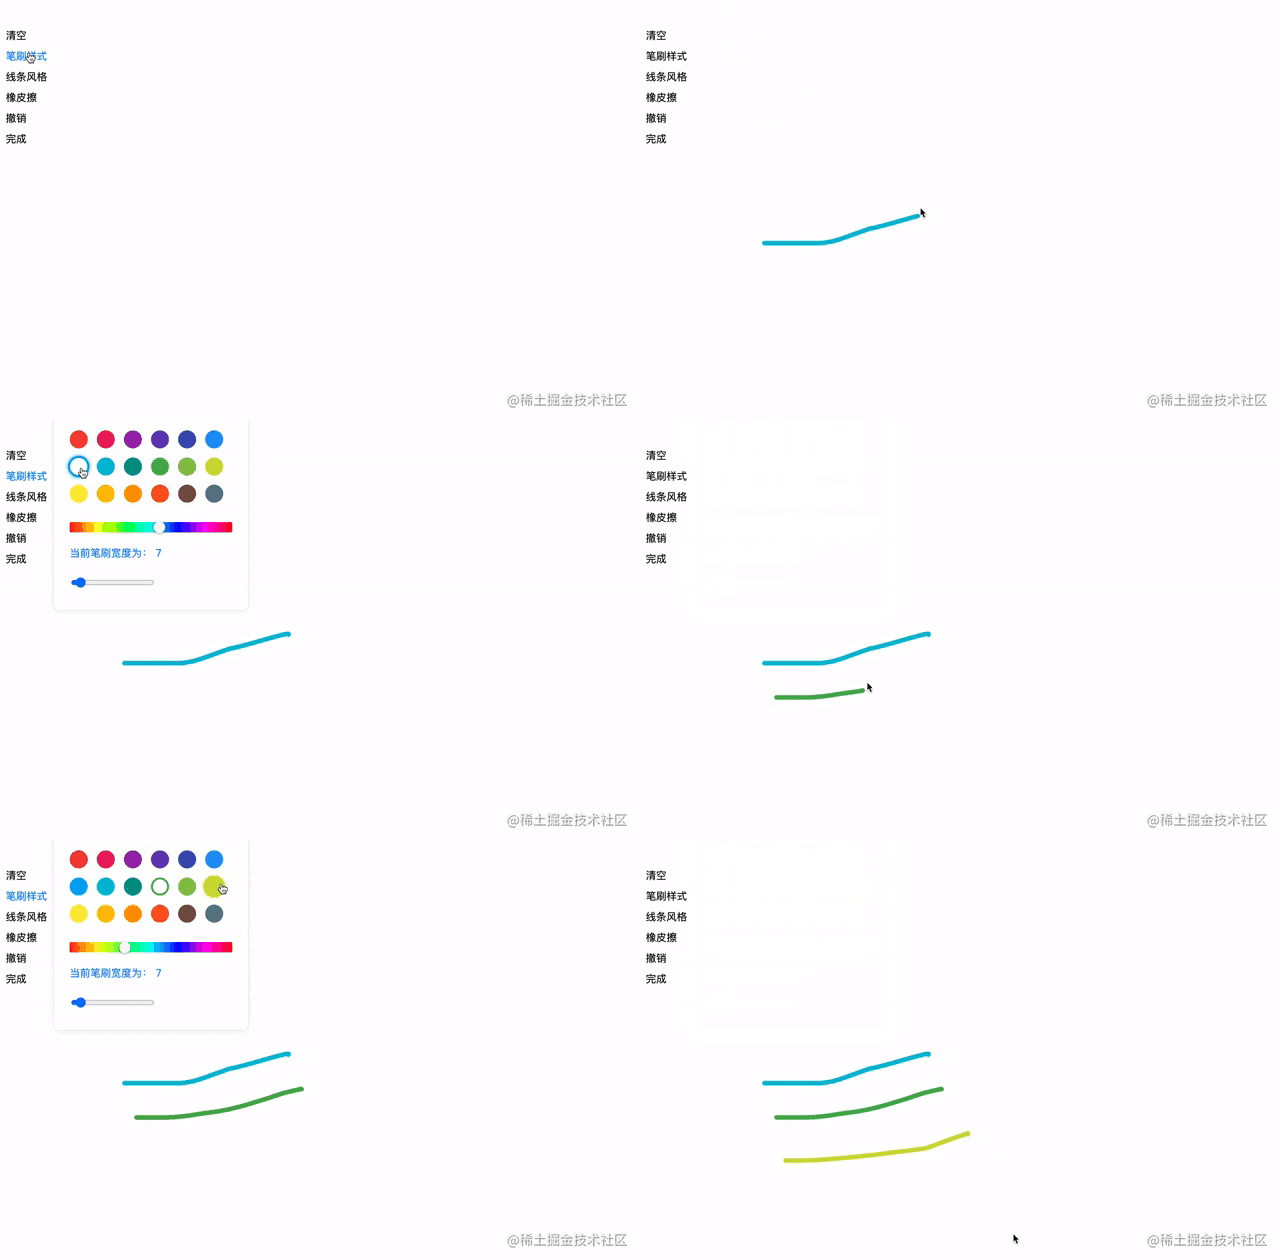
1 . 改变线条颜色
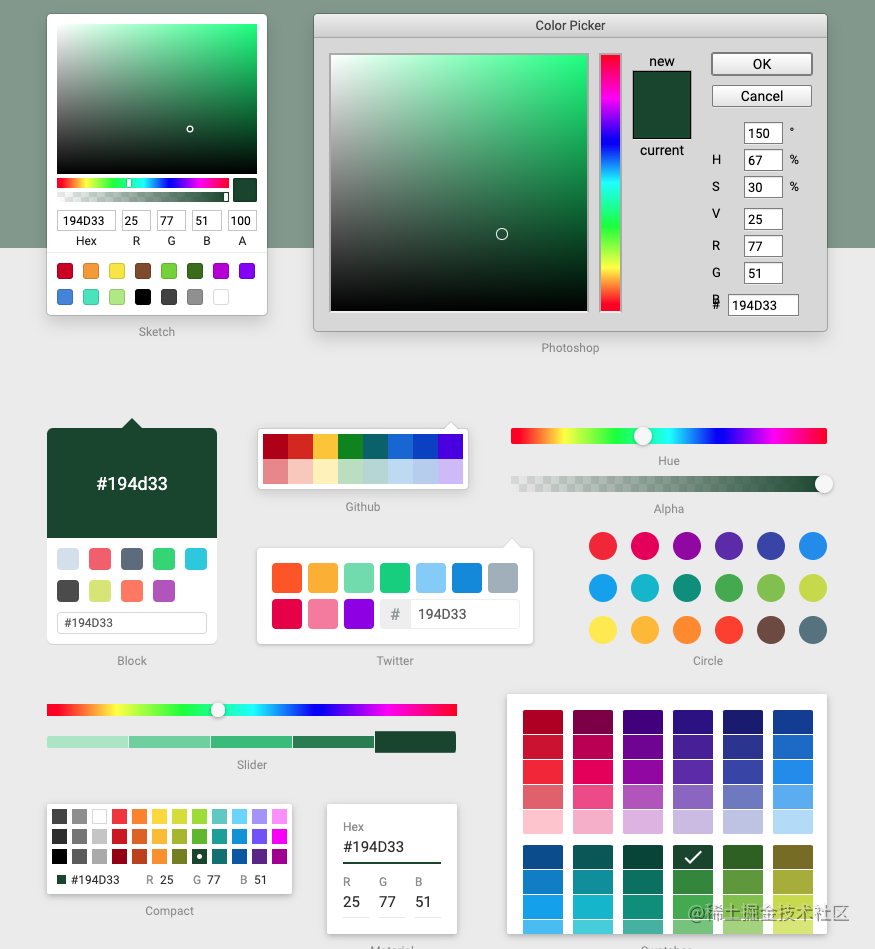
这里我引入了 react-color 库,一种颜色选择器组件。
<CirclePicker color={config.strokeStyle} onChange={(color: any) => config.strokeStyle = color.hex} />监听更改颜色的方案有很多种,这里我选择了用proxy监听数据。
new Proxy(target, {

    // target 目标对象 property 更改的属性名 value 新属性值 receiver 最初被调用的对象。通常是 proxy 本身
    set(target, property, value, receiver) {

    // Reflect.set 在对象上设置一个属性,返回boolean
    const result = Reflect.set(target, property, value, receiver);

    return result;

    },

})
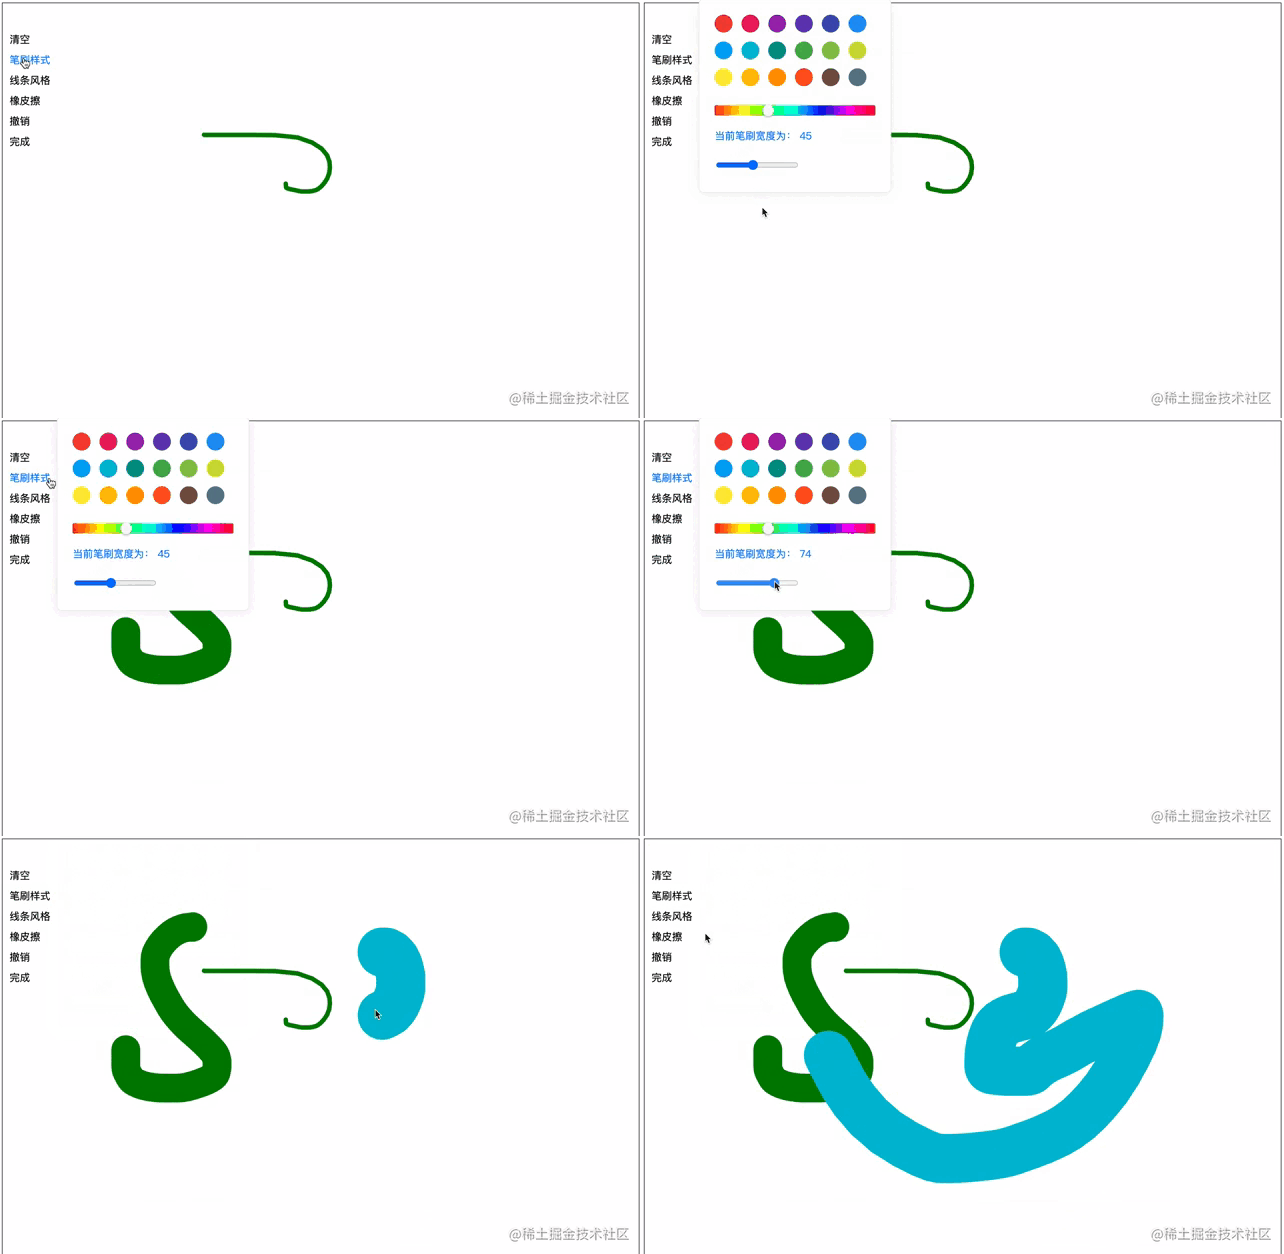
2 . 改变线条大小
<p>当前笔刷宽度为:{config.lineWidth}</p>
<input
    type="range"
    min={1}
    max={100}
    value={config.lineWidth}
    onChange={e => (config.lineWidth = Number(e.target.value))}
/>
3 . 增加橡皮擦
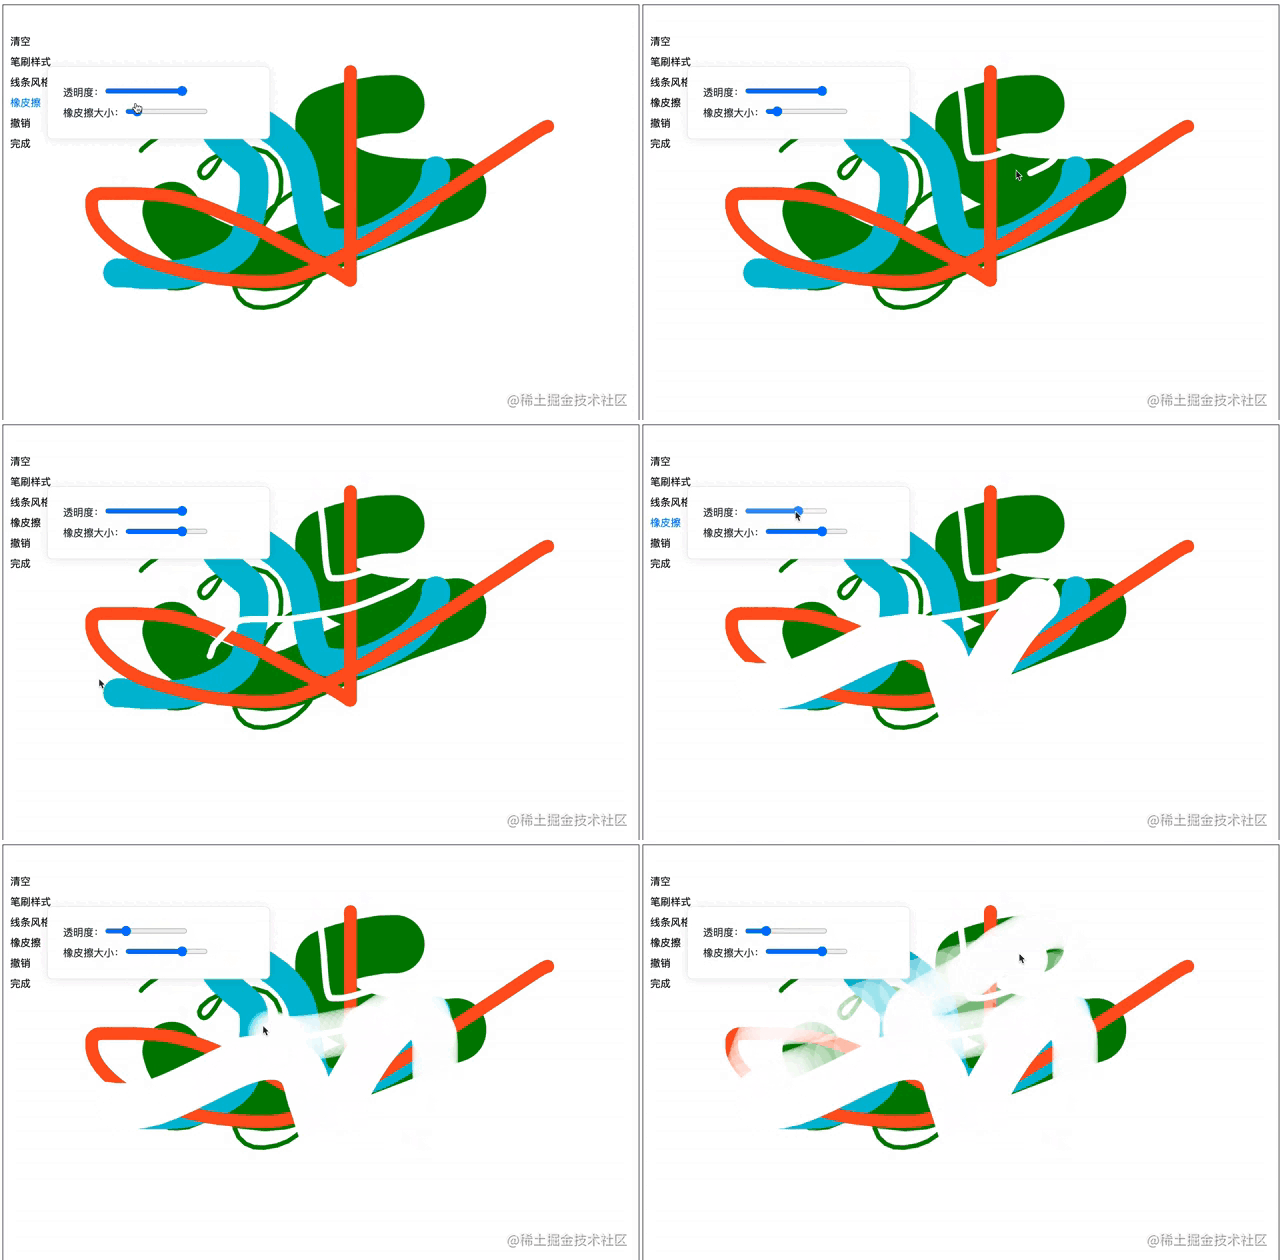
将线条颜色换成白色,再加一个能选择透明度大小和一个橡皮擦宽度大小的input框,一个简单的橡皮擦就实现了。
透明度:<input
    type="range"
    min={1}
    max={10}
    defaultValue={10}
    onChange={e => (config.strokeStyle = `rgba(255, 255, 255, ${Number(e.target.value) / 10})`)}
/><br />

橡皮擦大小:<input
    type="range"
    min={1}
    max={100}
    value={config.lineWidth}
    onChange={e => (config.lineWidth = Number(e.target.value))}
/>
三、撤销操作
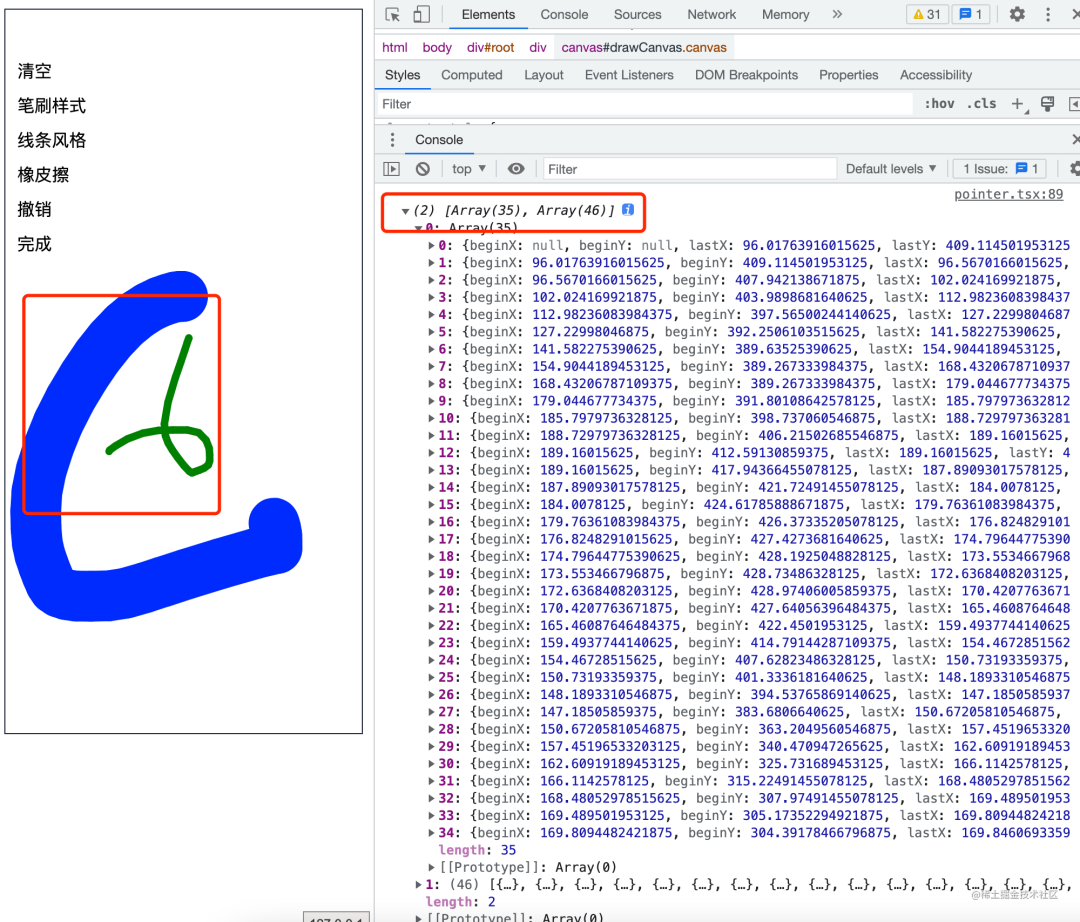
canvas 有原生的restore/save两个api,save时将当前状态放入栈中,restore从canvas保存的绘图状态栈中弹出顶端的状态。但这个api只保存部分状态,drawImage 这种操作对画布的改变是不会被canvas记录的,所以我们需要自己模拟一个栈,绘图的时候将最新的线条数据插入,撤销的时候将最上面的线条数据扔掉,重新绘制。
思路是声明保存当前所有画布线条信息的一个数组。数组里的每一条对象也是一个数组,记录了当前的绘图曲线。当鼠标按下,以及移动过程中将坐标,线条大小及颜色等数据放入数组中,直到鼠标放开。不然只有鼠标按下和放开两个节点坐标,canvas在绘制时直接生成了一条直线,而不是我们实际绘图弯弯绕绕的曲线。点击撤销的时候,我们把栈中最后一条数据扔掉,然后循环数组中的每条数据,进行重新绘制。
// 当前画布的所有绘制线条信息
let pathData = new Proxy(pathData, {get: () => {...}, set: () => {...}})

// 单独的线条数据
let singlePathData:any[] = [];

function handleMouseDown(event: any) {
    mouseButtonDown = true;
}

function handleMouseMove(event) {
    if (mouseButtonDown) {
        let singleData = {beginX: lastPt.x, beginY: lastPt.y, lastX: event.pageX, lastY: event.pageY, strokeStyle: config.strokeStyle, lineWidth: config.lineWidth, drawType: config.drawType};
        singlePathData.push(singleData)
        draw(singleData)
        lastPt = {
            x: event.pageX,
            y: event.pageY
        }
    }
}

function handleMouseUp(event: any) {
    mouseButtonDown = false;
    lastPt = {x: null, y: null};
    pathData.push(singlePathData)
    singlePathData = [];
    console.log(pathData, 'pathData')
}

// 撤销函数
function undo() {
    pathData.pop();
    let canvasDom: any = document.getElementById('drawCanvas');
    let curCtx = canvasDom!.getContext('2d');
    let rect = canvasDom!.getBoundingClientRect();
    curCtx.clearRect(rect.x, rect.y, rect.width, rect.height);
    pathData.map(item => {
        item.map(info => draw(info, curCtx))
    })
}
四、生成图片
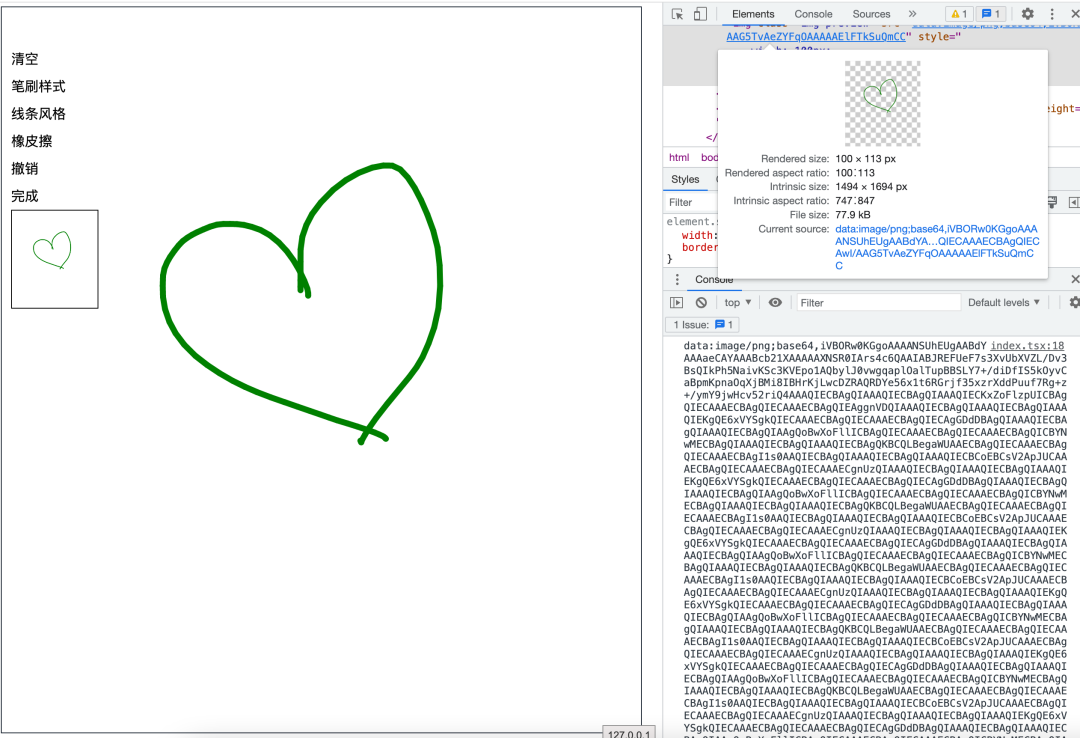
点击完成按钮将当前canvas画板上的内容生成一张png图片。这块直接用原生api canvas.toDataURL("image/png")就可以实现。
调取showSaveFilePicker 方法可以将生成的图片保存到指定的目录。该方法返回一个FileSystemFileHandle 对象,这个对象上的方法可以操作文件。
const onSave = () => {
    const handle = await (window as any).showSaveFilePicker({
        suggestedName: "test.png",
        types: [
            {
                description: "PNG file",
                accept: {
                    "image/png": [".png"],
                },
            },
        ],
    });
    const writable = await handle.createWritable();
    await writable.write(props.imgUrl);
    await writable.close();
    return handle;
}
参考资料
为什么Proxy一定要配合Reflect使用?
- END -

