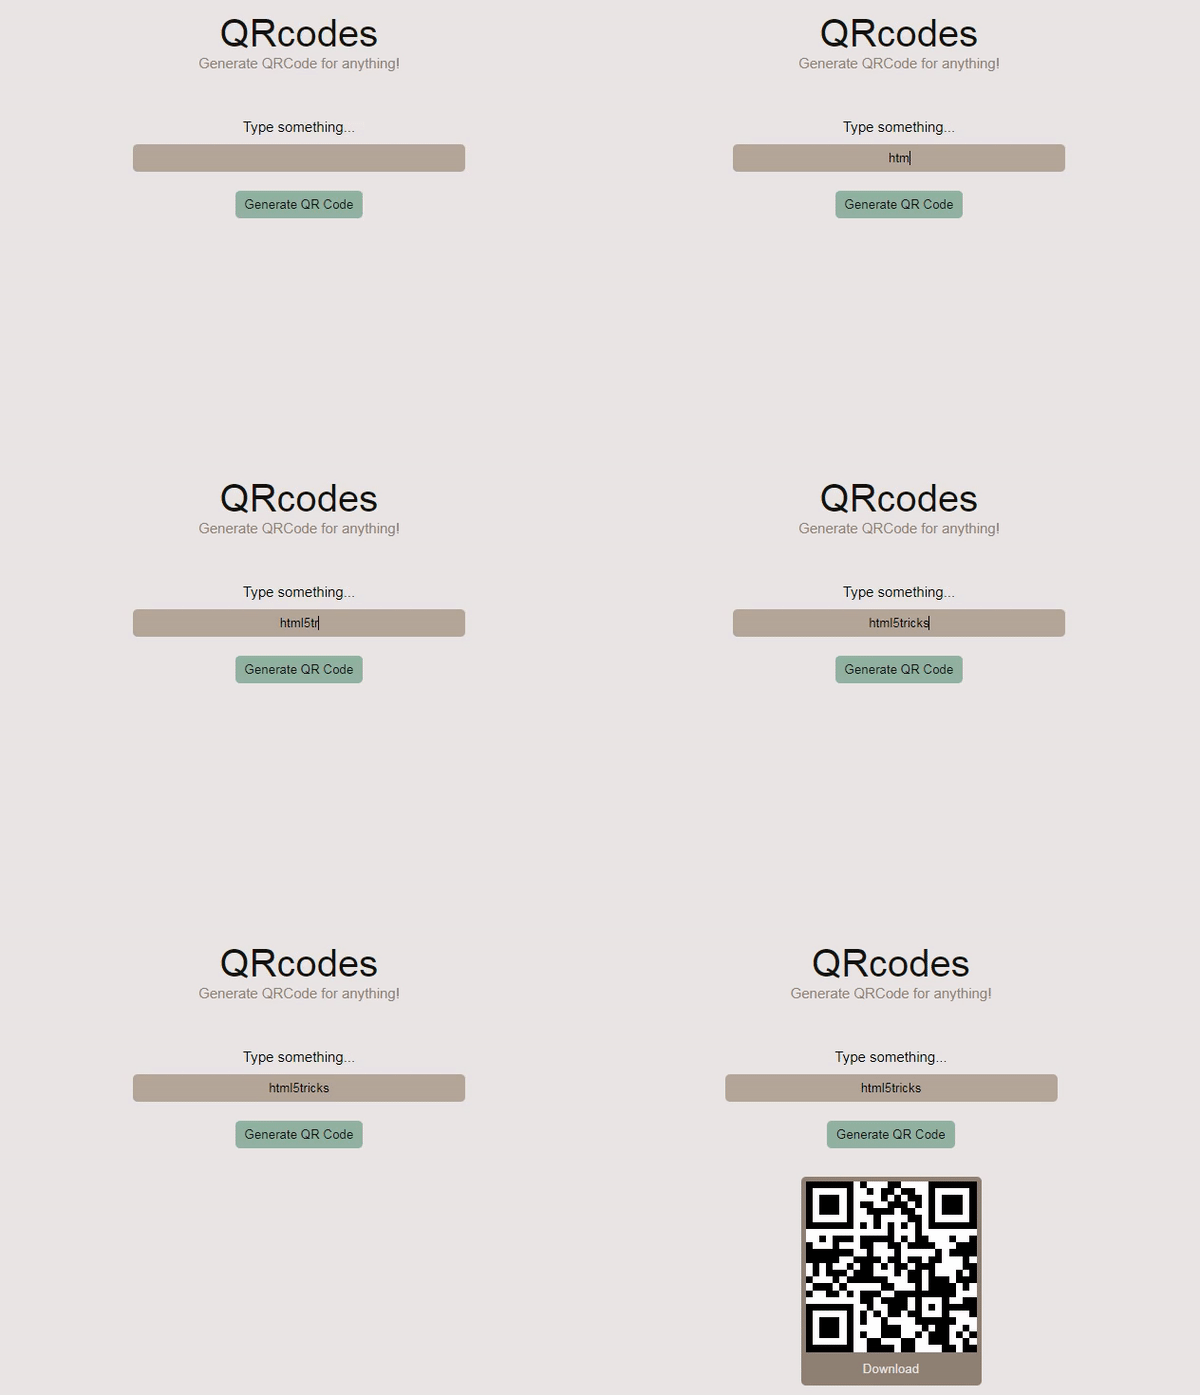
我用 JavaScript 制作了一个二维码生成器
虽然我们可以在Chrome等浏览器中生成URL二维码,但自己亲手来制作一个简单的二维码生成器也是一件很有趣的事。
我们今天的主题就是这个!
阅读文章前,先给大家看看效果预览:
HTML
HTML代码非常简单。
<section class="heading">
    <div class="title">QRcodes</div>
    <div class="sub-title">Generate QRCode for anything!</div>
</section>
<section class="user-input">
    <label for="input_text">Type something...</label>
    <input type="text" name="input_text" id="input_text" autocomplete="off">
    <button class="button" type="submit">Generate QR Code</button>
</section>
<div class="qr-code" style="display: none;"></div>
<script src="./js/app.js"></script>
最后一个元素是当我们通过JavaScript从库中获取二维码时立即显示二维码(稍后会详细介绍)。
接下来讨论JavaScript。
JavaScript
首先为用户单击Generate QR code按钮创建一个事件。
let btn = document.querySelector(".button");
btn.addEventListener("click", () => {
   //code
})接着创建名为generate()的函数,该函数将在用户单击Generate QR code按钮时立即调用。此函数接受用户输入的文本作为参数。
function generate(user_input) {
    //code
}在这个函数中,我们将使用qrcode.js脚本库来生成二维码。你可以通过CDN使用此库,方法是在html的<head>标记中包含以下<script>标记。
<script src="https://cdnjs.cloudflare.com/ajax/libs/qrcodejs/1.0.0/qrcode.min.js"></script>
在generate()函数内部,我们将通过给定的库创建一个新对象。新对象接受两个参数,第一个参数是显示二维码的元素,第二个参数是生成二维码的内容以及一些自定义二维码的选项。
function generate(user_input) {
    var qrcode = new QRCode(document.querySelector(".qr-code"), {
        text: `${user_input.value}`,
        width: 180, //default 128
        height: 180,
        colorDark : "#000000",
        colorLight : "#ffffff",
        correctLevel : QRCode.CorrectLevel.H
    });
}
下面创建下载按钮并将其附加到二维码下方。
let download = document.createElement("button");
document.querySelector(".qr-code").appendChild(download);
然后在此下载按钮中添加链接,以便用户可以下载指定文件名的二维码并将其附加到下载按钮中。
let download_link = document.createElement("a");
download_link.setAttribute("download", "qr_code_linq.png");
download_link.innerText = "Download";
download.appendChild(download_link);接下来让我们弄清楚<a>标签的href属性。
qrcode对象返回canvas元素和image元素。
canvas元素对智能手机可见,而image元素则对桌面浏览器可见,并将src属性设置为dataURL。我们将使用dataURL下载二维码。
在桌面的情况下,很明显我们只需要在指定的时间量(0.3秒)后,使用setTimeout()函数获取image元素src属性的值,并将其分配给下载链接(<a>标签)的href属性,因为二维码的生成需要时间。
let qr_code_img = document.querySelector(".qr-code img");
setTimeout(() => {
    download_link.setAttribute("href", `${qr_code_img.getAttribute("src")}`);
}, 300);那么我们如何从canvas元素中获取dataURL呢?通过在canvas元素上使用toDataURL()方法。
let qr_code_canvas = document.querySelector("canvas");
setTimeout(() => {
    download_link.setAttribute("href", `${qr_code_canvas.toDataURL()}`);
}, 300);
应用逻辑后,我们得到:
if(qr_code_img.getAttribute("src") == null){
    setTimeout(() => {
        download_link.setAttribute("href", `${qr_code_canvas.toDataURL()}`);
    }, 300);
} else {
    setTimeout(() => {
        download_link.setAttribute("href", `${qr_code_img.getAttribute("src")}`);
    }, 300);
}隐藏.qr-code元素,直到用户单击Generate QR code按钮。同时,设置generate()为被调用的函数。
function generate(user_input){

    document.querySelector(".qr-code").style = "";

    var qrcode = new QRCode(document.querySelector(".qr-code"), {
        text: `${user_input.value}`,
        width: 180, //128
        height: 180,
        colorDark : "#000000",
        colorLight : "#ffffff",
        correctLevel : QRCode.CorrectLevel.H
    });

    console.log(qrcode);

    let download = document.createElement("button");
    document.querySelector(".qr-code").appendChild(download);

    let download_link = document.createElement("a");
    download_link.setAttribute("download", "qr_code_linq.png");
    download_link.innerText = "Download";

    download.appendChild(download_link);

    if(document.querySelector(".qr-code img").getAttribute("src") == null){
        setTimeout(() => {
            download_link.setAttribute("href", `${document.querySelector("canvas").toDataURL()}`);
        }, 300);
    } else {
        setTimeout(() => {
            download_link.setAttribute("href", `${document.querySelector(".qr-code img").getAttribute("src")}`);
        }, 300);
    }
}
现在我们将在这个点击事件函数中检查是否已经显示了二维码。如果是,那就清除此二维码并生成新的二维码。如果没有显示二维码,那就生成一个。
此外,所有这一切仅在用户输入文本或输入值不为空时才会发生。
btn.addEventListener("click", () => {
    let user_input = document.querySelector("#input_text");
    if(user_input.value != "") {
        if(document.querySelector(".qr-code").childElementCount == 0){
            generate(user_input);
        } else{
            document.querySelector(".qr-code").innerHTML = "";
            generate(user_input);
        }
    } else {
        document.querySelector(".qr-code").style = "display: none";
        console.log("not valid input");
    }
})
你可以根据需要设置元素的样式。我选择的样式如下:
:root{
    font-size: 62.5%;
}
*{
    margin: 0;
    padding: 0;
    box-sizing: border-box;
    text-size-adjust: none;
    -webkit-text-size-adjust: none;
}
button:hover{
    cursor: pointer;
}

body{
    display: flex;
    flex-direction: column;
    align-items: center;
    background-color: #EAE6E5;
}
.heading{
    margin: 3rem 0 5rem 0;
}
.title, .sub-title{
    font-size: 4rem;
    text-align: center;
    font-family: 'Poppins', sans-serif;
    color: #12130F;
}
.sub-title{
    font-size: 1.5rem;
    color: #8F8073;
}

.user-input{
    display: flex;
    flex-direction: column;
    align-items: center;
    width: 100%;
}
.user-input label{
    text-align: center;
    font-size: 1.5rem;
    font-family: 'Poppins', sans-serif;
}
.user-input input{
    width: 80%;
    max-width: 35rem;
    font-family: 'Poppins', sans-serif;
    outline: none;
    border: none;
    border-radius: 0.5rem;
    background-color: #9b8774ad;
    text-align: center;
    padding: 0.7rem 1rem;
    margin: 1rem 1rem 2rem 1rem;
}
.button{
    outline: none;
    border: none;
    border-radius: 0.5rem;
    padding: 0.7rem 1rem;
    margin-bottom: 3rem;
    background-color: #5b92799d;
    color: #12130F;
    font-family: 'Poppins', sans-serif;
}

.qr-code{
    border-top: 0.5rem solid #8F8073;
    border-right: 0.5rem solid #8F8073;
    border-bottom: 1rem solid #8F8073;
    border-radius: 0.5rem;
    border-bottom-left-radius: 0.5rem;
    border-bottom-right-radius: 0.5rem;
    border-left: 0.5rem solid #8F8073;
    background-color: #8F8073;
}
.qr-code button{
    display: flex;
    justify-content: center;
    background-color: #8F8073;
    font-family: 'Poppins', sans-serif;
    color: #EAE6E5;
    border: none;
    outline: none;
    width: 100%;
    height: 100%;
    margin-top: 1rem;
}
.qr-code button a{
    width: 100%;
    height: 100%;
    text-decoration: none;
    color: #EAE6E5;
}
下面是整个项目的演示:
一个简单的二维码生成器web应用程序就这样完成了!
感谢大家的阅读,我们下次再见。
