从零手写Vue之虚拟dom
前边的6篇文章的文章介绍了虚拟 dom ,没看过的同学推荐直接到网站 vue.windliang.wang/ 看一下。
这篇文章主要是按照 Vue2 源码的目录格式和调用过程,把我们之前写的虚拟 dom 代码位置整理一下。
相比于 [从零手写 Vue 之响应式系统] ,这次还新建了 code/VueLiang1/src/platforms/web 目录,将和 web 相关的操作都放到了该目录中,并且把 Vue 的入口文件换为平台相关的 code/VueLiang1/src/platforms/web/entry-runtime.js 。
这次的测试文件就已经非常有 Vue 那味儿了。
import Vue from "./src/platforms/web/entry-runtime";
new Vue({
el: "#root",
data() {
return {
test: 1,
name: "data:liang",
};
},
watch: {
test(newVal, oldVal) {
console.log(newVal, oldVal);
},
},
computed: {
text() {
return "computed:hello:" + this.name;
},
},
methods: {
hello() {
console.log("调用methods:hello");
return "调用methods:hello";
},
click() {
this.test = 3;
this.name = "wind";
},
},
render(createElement) {
const test = createElement(
"div",
{
on: {
click: () => this.click(),
dblclick: () => this.hello(),
},
},
[this.text, createElement("div", this.test)]
);
return test;
},
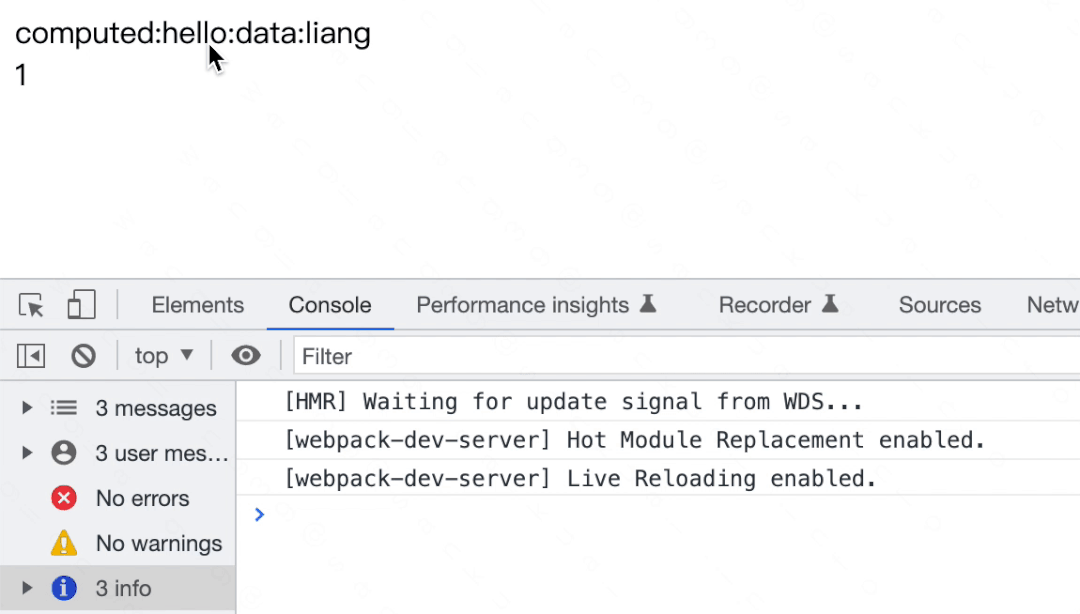
});我们实现了核心的响应式系统,还有之前的 watch 和 computed , render 函数可以直接通过 createElement 来生成虚拟 dom 。看一下效果:
关于虚拟 dom 还剩下自定义组件没有实现,下篇文章会在今天完成的 code/VueLiang1 的代码下来实现,大家也可以先调试熟悉一下。
虚拟 dom 介绍完之后,下一个大篇章就会介绍「模版编译」了,也就是写 template 模版,然后自动编译为虚拟 dom ,欢迎持续关注。
每篇文章的源码都可以在 github 上找到并且运行,觉得不错的话也感谢 star 。