Compose自定义布局的使用
Compose自定义布局的使用
我们知道,在Android View体系下,自定义布局需要继承ViewGroup重写onMeasure、onLayout方法,那么在Compose UI框架中该如何实现自定义布局呢?
今天我们就来学习下Compose UI中自定义布局的具体使用。
实现目标
项目中有一个房源展示页面,用来展示一栋楼的所有房间信息,布局要求如下:
- 每个房间的宽高尺寸固定,水平方向需要动态计算可以显示的房间数量,内容水平方向居中;
- 房源数量较少,无法充满屏幕时,房源在屏幕中竖直方向居中显示;
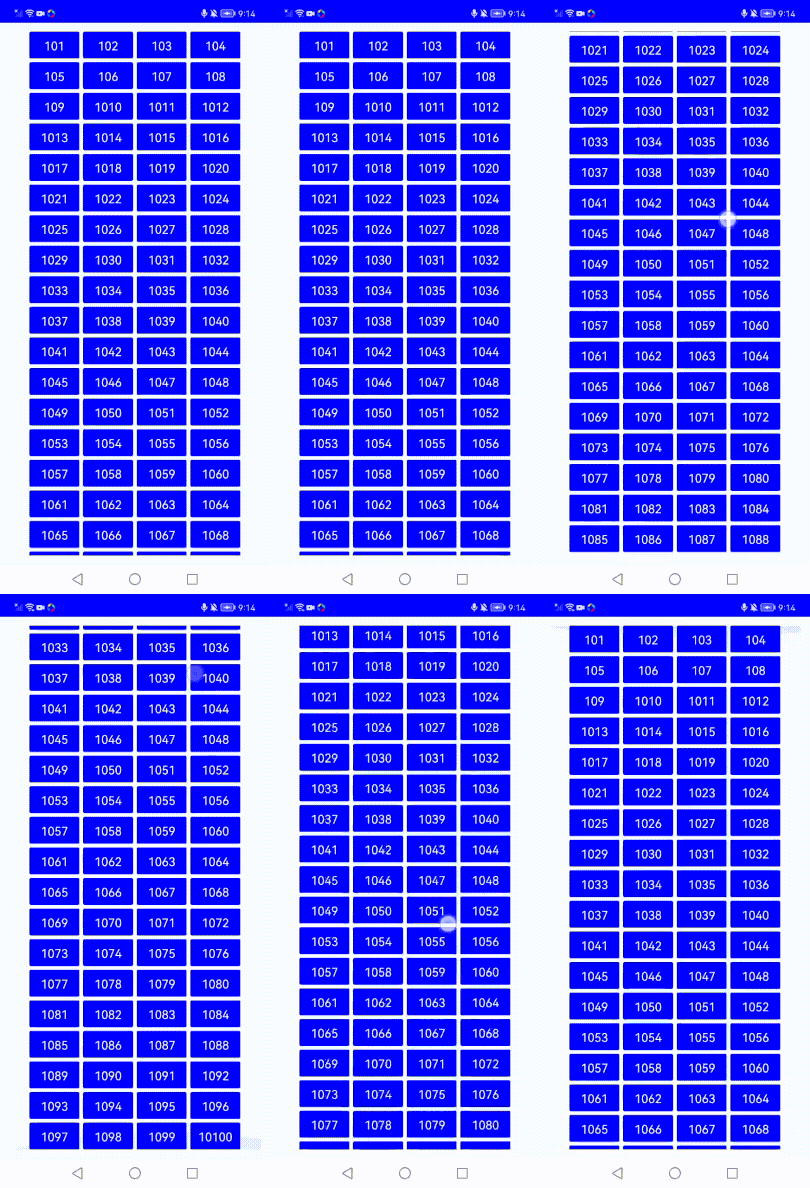
- 房源数量超过屏幕时,从上向下布局,竖直方向可以滑动查看。
我们以此页面为目标,学习Compose自定义布局的使用。
效果图
效果一:上下、左右居中
效果二:上下滑动
Compose 自定义布局实现方式在编写代码前,我们先来了解下Compose 中自定义布局的实现方式。
Compose中使用Layout 可组合项来实现自定义布局,在Layout函数中完成子元素的测量和放置。以下是 Layout 可组合项的函数签名:
@Composable inline fun Layout(
    content: @Composable () -> Unit,
    modifier: Modifier = Modifier,
    measurePolicy: MeasurePolicy
) {}一个自定义布局的Layout代码结构通常如下代码所示:
@Composable
fun MyBasicColumn(
    modifier: Modifier = Modifier,
    content: @Composable () -> Unit
) {
    Layout(
        modifier = modifier,
        content = content
    ) { measurables, constraints ->

        // 1. 使用给定的约束条件constraints测量children
        val placeables = measurables.map { measurable ->
            measurable.measure(constraints)
        }

        // 2. 设置布局的尺寸,放置子元素
        layout(constraints.maxWidth, constraints.maxHeight) {
            var yPosition = 0
           //在父布局中放置children
            placeables.forEach { placeable ->
                placeable.placeRelative(x = 0, y = yPosition)
                yPosition += placeable.height
            }
        }
    }
}
从上面代码可以看到,Compose实现自定义布局,主要有两步:
- 测量每个子元素在父布局约束下的大小
- 确定布局尺寸,放置子元素
注意:Compose 界面不允许多遍测量。这意味着,布局元素不能为了尝试不同的测量配置而多次测量任何子元素。
主要参数介绍
Layout函数中,有三个主要参数:
1. modifer
由外部传入的修饰符,用来修饰我们自定义的这Layout 组件的一些属性或约束 Constraints;
2. content
自定义布局 Layout 组件中所包含的子元素 children;
3. measurePolicy
mearsurePolicy 参数是 MeasurePolicy 类型,它是一个函数式接口,指定了布局测量和放置项目的方式。我们通常在Layout函数中以尾随 Lambda 的形式提供 MeasurePolicy 作为参数,从而实现所需的 MeasureScope.measure 函数。
fun interface MeasurePolicy {
    fun MeasureScope.measure(
        measurables: List<Measurable>,
        constraints: Constraints
    ): MeasureResult
}
measure函数接受一个 Constraints 对象来告知 Layout 它的尺寸限制。Constraints 是一个简单类,用于限制 Layout 的最大和最小宽度与高度, constraints中提供的maxWidth和maxHeight是计算过modifier中padding之后的值, 所以布局中不需要再考虑padding:
class Constraints {
    val minWidth: Int
    val maxWidth: Int
    val minHeight: Int
    val maxHeight: Int
}
measure 函数还会接受 ListMesurealbe.measure(constraints: Constraints),使用此函数完成子元素的测量工作,获取子元素的布局尺寸。
在MeasurePolicy的measure函数中,完成测量和放置子元素的过程。
1)测量
遍历measureables, 调用measure(constrains:Constrains)方法进行测量。获取子元素的测量结果Placeable,Placeable包含测 量的宽度和高度
2)放置
调用layout(width: Int,height: Int,alignmentLines: Map<AlignmentLine, Int> = emptyMap(),placementBlock: Placeable.PlacementScope.() -> Unit)方法对子元素进行布局。
width, height指定可组合项的布局尺寸, placementBlock是具体的布局流程。
测量后的Placeable表示为可布局对象。通过placeable.placeRelative(x:Int,y:Int)方法对其进行摆放。x,y表示其距当前组件左上角的偏移量。另外还有一个place(x: Int, y: Int)方法,两个方法的区别是:placeRelative方法支持RTL布局,也就是从右向左的布局,place方法只支持LTR布局。
代码实现
接下来,正式开始编写代码。
我们预先定义一些布局条件:
- 自定义布局默认占满屏幕,宽高即为屏幕的宽高;
- 子元素尺寸固定,宽高为67dp * 36.dp;
- 子元素间的横向和竖向间距固定为5dp;
构建基本布局
在构建基本布局这一部分,我们先完成子元素在父布局中的基本展示,左右居中效果,后续步骤再分别添加上下居中效果和竖直滑动能力。
我们先向布局中添加一些子元素,子元素的宽高尺寸为固定值,如下:
CustomLayout() { //CustomLayout为我们要实现的自定义布局
  for (i in 1..100) {
    Box(
      modifier = Modifier
      .size(67.dp, 36.dp)
      .background(
        color = Color(0xFFFF6633),
        shape = RoundedCornerShape(2.dp)
      ), contentAlignment = Alignment.Center
    ) {
      Text(text = "10${i}", fontSize = 16.sp, color = Color.White)
    }
  }
}
1. 测量子元素的尺寸
在Layout函数中,根据父布局提供的Constraints约束条件,测量子元素,生成placeable,获取子元素的尺寸
@Composable
fun CustomLayout(modifier: Modifier = Modifier,content: @Composable () -> Unit) {
    Layout(content = content, modifier = modifier) { measurables, constraints ->

    val placeables = measurables.mapIndexed { index, measurable ->
        // 测量子元素的尺寸
        val placeable = measurable.measure(
            constraints
        )

        placeable
    }
}
2. 计算
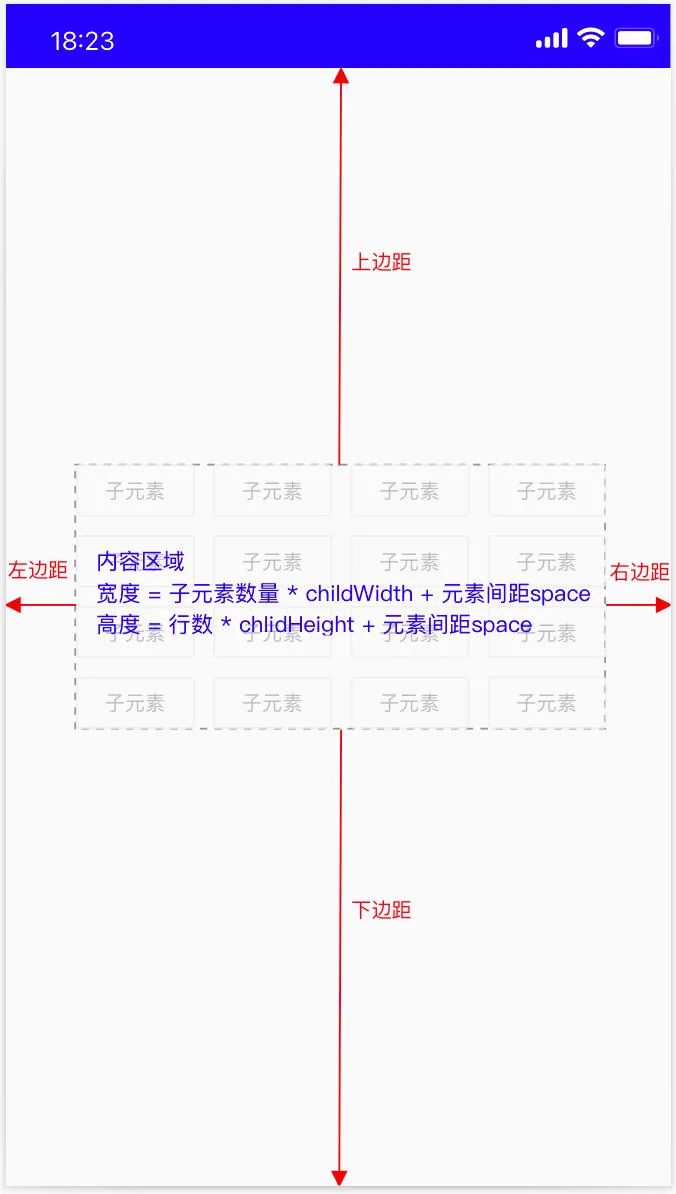
接下来,我们需要通过获取到的子元素尺寸,计算每行子元素的总宽度、左右两侧边距、子元素的总高度、每个子元素在父布局中的位置。
由于子元素尺寸、间距固定,我们可以先计算出每行可以容纳的子元素个数,然后根据子元素宽度、元素间距计算得到每行子元素的总宽度;再通过子元素的总数量计算出子元素的总行数,通过子元素总行数、子元素高度,竖直方向元素间距可计算得到子元素内容的总高度。
布局示意图,水平居中即左右两侧边距相等
1)计算每行子元素数量
用变量columns记录每行可以容纳的子元素个数,rowWidth初始为布局的最大宽度,当rowWidth大于等于子元素的宽度childWidth时,说明当前行还可继续容纳子元素,columns加1,rowWidth减去( childWidth + 间距space ),即为剩余的可用宽度,通过while循环计算,直到rowWidth小于childWidth,说明此时宽度已不够放下子元素。
var columns = 0

var rowWidth = constraints.maxWidth
val childWidth = placeable.width
val childHeight = placeable.height

// 根据父元素、子元素的宽度以及子元素间的间距,计算每行可以显示的子元素数量
while (rowWidth >= childWidth) {
  rowWidth -= (childWidth + space)
  columns++
}
2) 计算每行子元素总宽度、左右间距
有了每行子元素的数量后,就可以根据子元素宽度,间距计算出子元素的总宽度,然后再计算出左右两侧的边距,水平方向居中即左右边距相等,为父布局最大宽度减去子元素总宽度后剩余宽度的一半:
//每行子元素占据的总宽度,包括子元素间间距
val lineWidth = columns * childWidth + (columns - 1) * space
//计算左右两侧边距,为最大宽度减去子元素总宽度剩余宽度的一半
edgeStart = (constraints.maxWidth - lineWidth) / 2
3)然后,再通过子元素的总数量、每行的子元素数量,计算出总行数rows,有了总行数后即可计算出子元素的总高度。
//计算总行数
rows = (measurables.size + columns - 1) / columns
// 计算子元素的总高度
contentHeight = rows * childHeight + (rows - 1) * space
4)拿到行数、列数后,就可以计算出每个元素的在父布局中的坐标位置
//两个二维数组,分别存放 * 行 * 列元素的坐标位置
var childX = Array(rows) { IntArray(columns) } //子元素 X 方向的位置
var childY = Array(rows) { IntArray(columns) } //子元素 Y 方向的位置

//当前元素是第几行,第几列,index为元素索引
val row = index / columns
val column = index % columns

//计算元素位置坐标
childX[row][column] = column * (placeable.width + space) + edgeStart
childY[row][column] = row * (placeable.height + space)
3. 设置布局尺寸,放置子元素
最后,调用layout方法,设置布局尺寸,我们这里使用布局的最大宽度和最大高度,然后遍历测量生成的placeables来放置子元素。
//布局的宽高默认为约束的最大宽高,这里即为屏幕的宽高
val layoutWidth = constraints.maxWidth
val layoutHeight = constraints.maxHeight

layout(layoutWidth, layoutHeight) {
    placeables.forEachIndexed { index, placeable ->
        //当前是第几行,第几列
        val row = index / columns
        val column = index % columns
        //放置元素
        placeable.placeRelative(
            x = childX[row][column],
            y = childY[row][column],
        )
    }
}
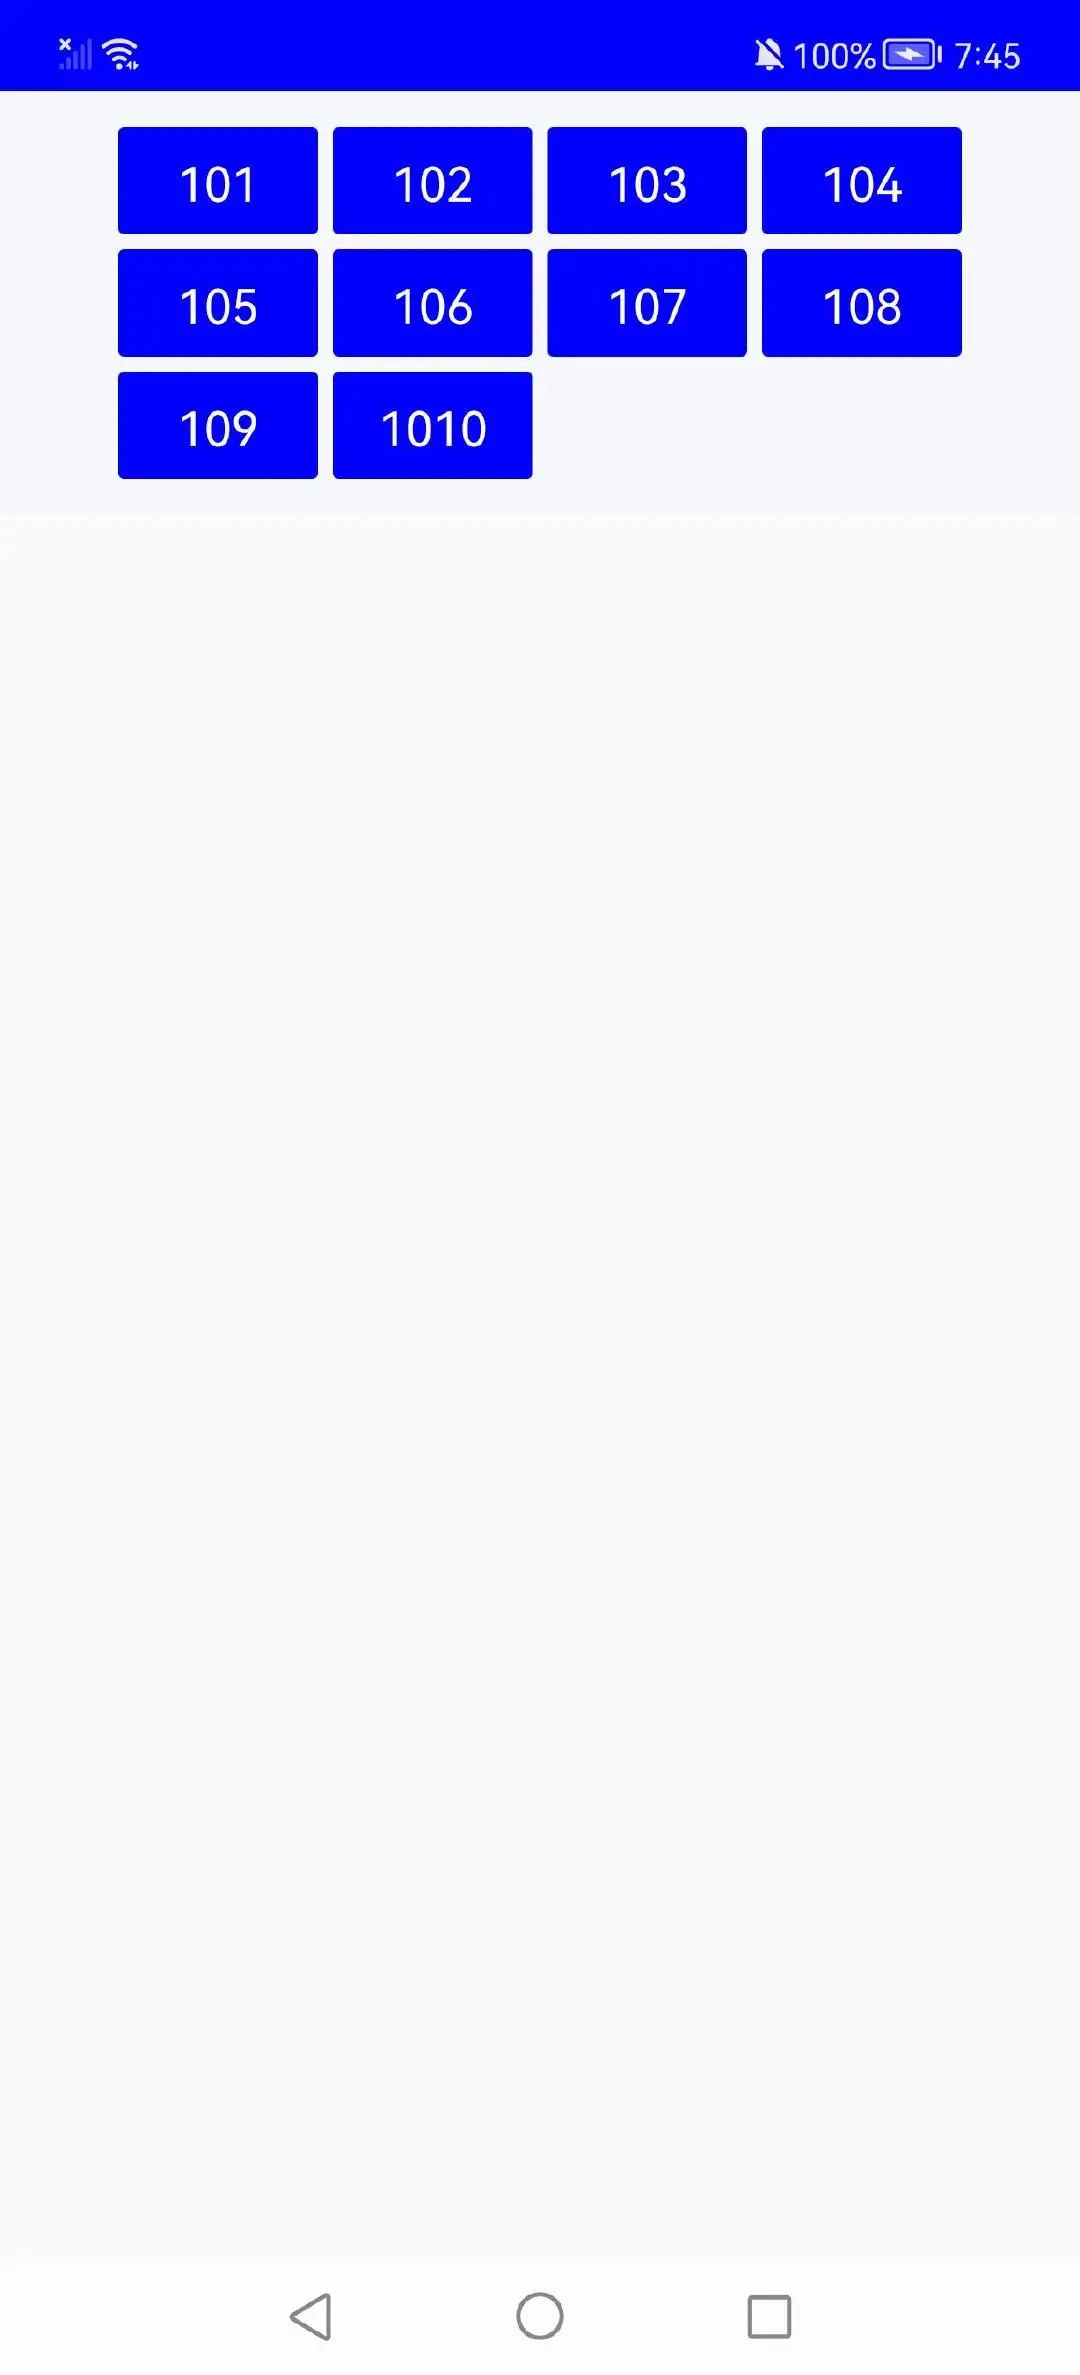
到这里,基本的布局就完成了,效果如下
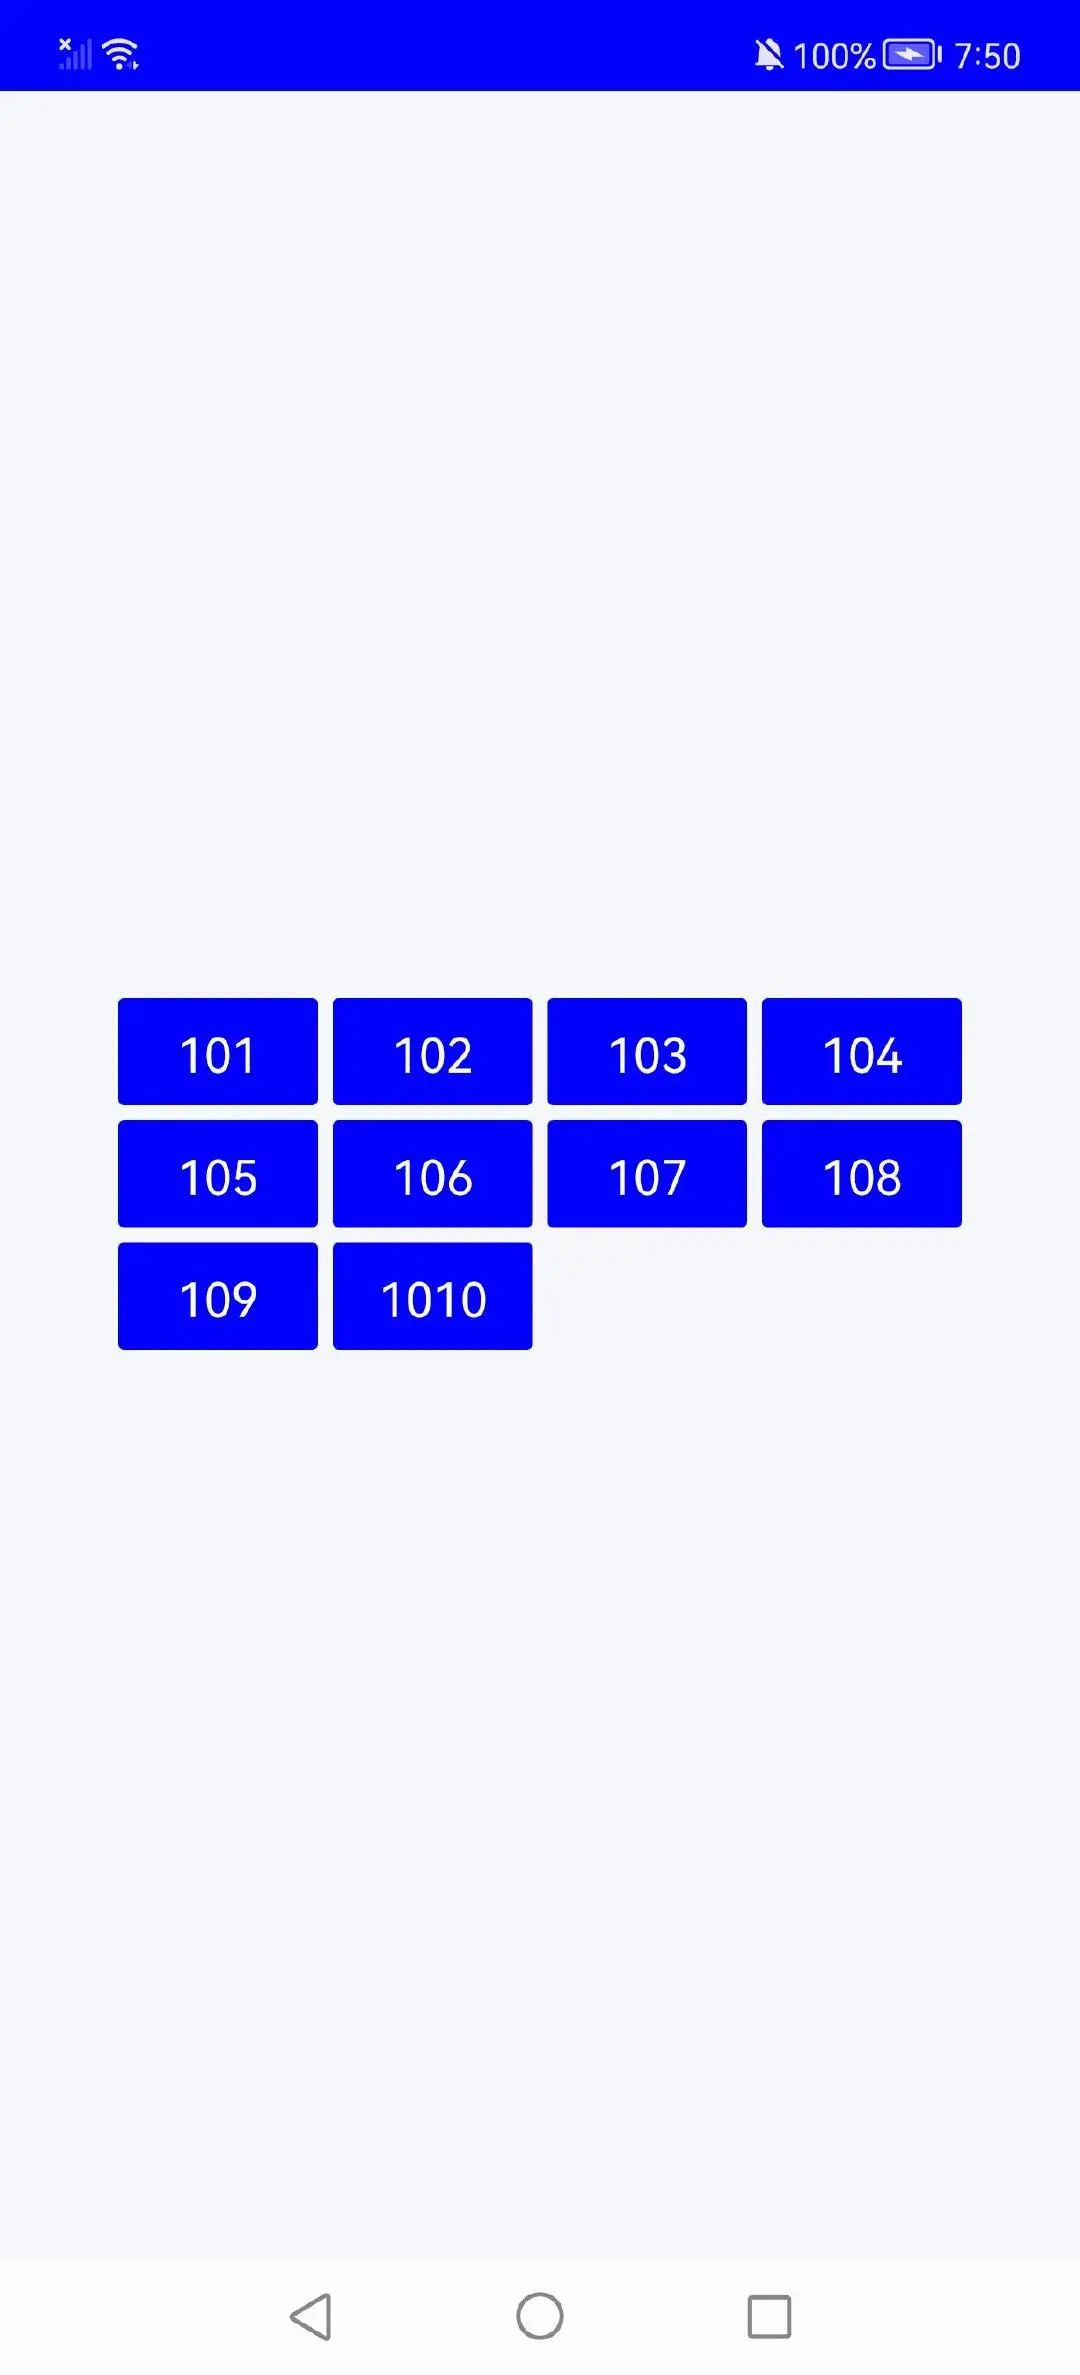
实现竖直方向内容居中效果
完成了基本布局后,我们再来实现竖直方向内容居中的效果。和水平居中一样,竖直居中即上下两侧边距相等。
在上面计算过程中,我们获取了子元素内容的总高度,结合父布局的最大高度即可计算出上下侧的边距。
需要注意的是:只有当布局内容的高度小于布局的最大高度时,我们才来设置竖直居中。
 //top 上侧的边距, 当子元素的高度超过父容器高度时为0;子元素的高度小于父布局高度时进行计算(父容器高度-子元素总高度)/ 2
 var edgeTop = 0
if (contentHeight < layoutHeight) {
    edgeTop = (layoutHeight - contentHeight) / 2
}
有了上侧边距后,在对子元素布局时,y坐标加上侧的间距,即可实现内容上下居中
layout(layoutWidth, layoutHeight) {
    placeables.forEachIndexed { index, placeable ->
        //当前是第几行,第几列
        val row = index / columns
        val column = index % columns
        placeable.place(
            x = childX[row][column],
            y = childY[row][column] + edgeTop,
        )
    }
}
效果如图
CustomLayout(modifier = Modifier
    .background(Color.Yellow)
    .padding(12.dp)
    .fillMaxSize() //设置布局尺寸,占满所有可用空间,即和屏幕宽高一致
) {
    for (i in 1..20) {
        Box(
            modifier = Modifier
                .size(67.dp, 36.dp)
                .background(
                    color = Color.Green,
                    shape = RoundedCornerShape(2.dp)
                ), contentAlignment = Alignment.Center
        ) {
            Text(text = "10${i}", fontSize = 16.sp, color = Color.Black)
        }
    }
}
添加fillMaxSize修饰符后的效果是这样的,单个子元素占满了整个布局。
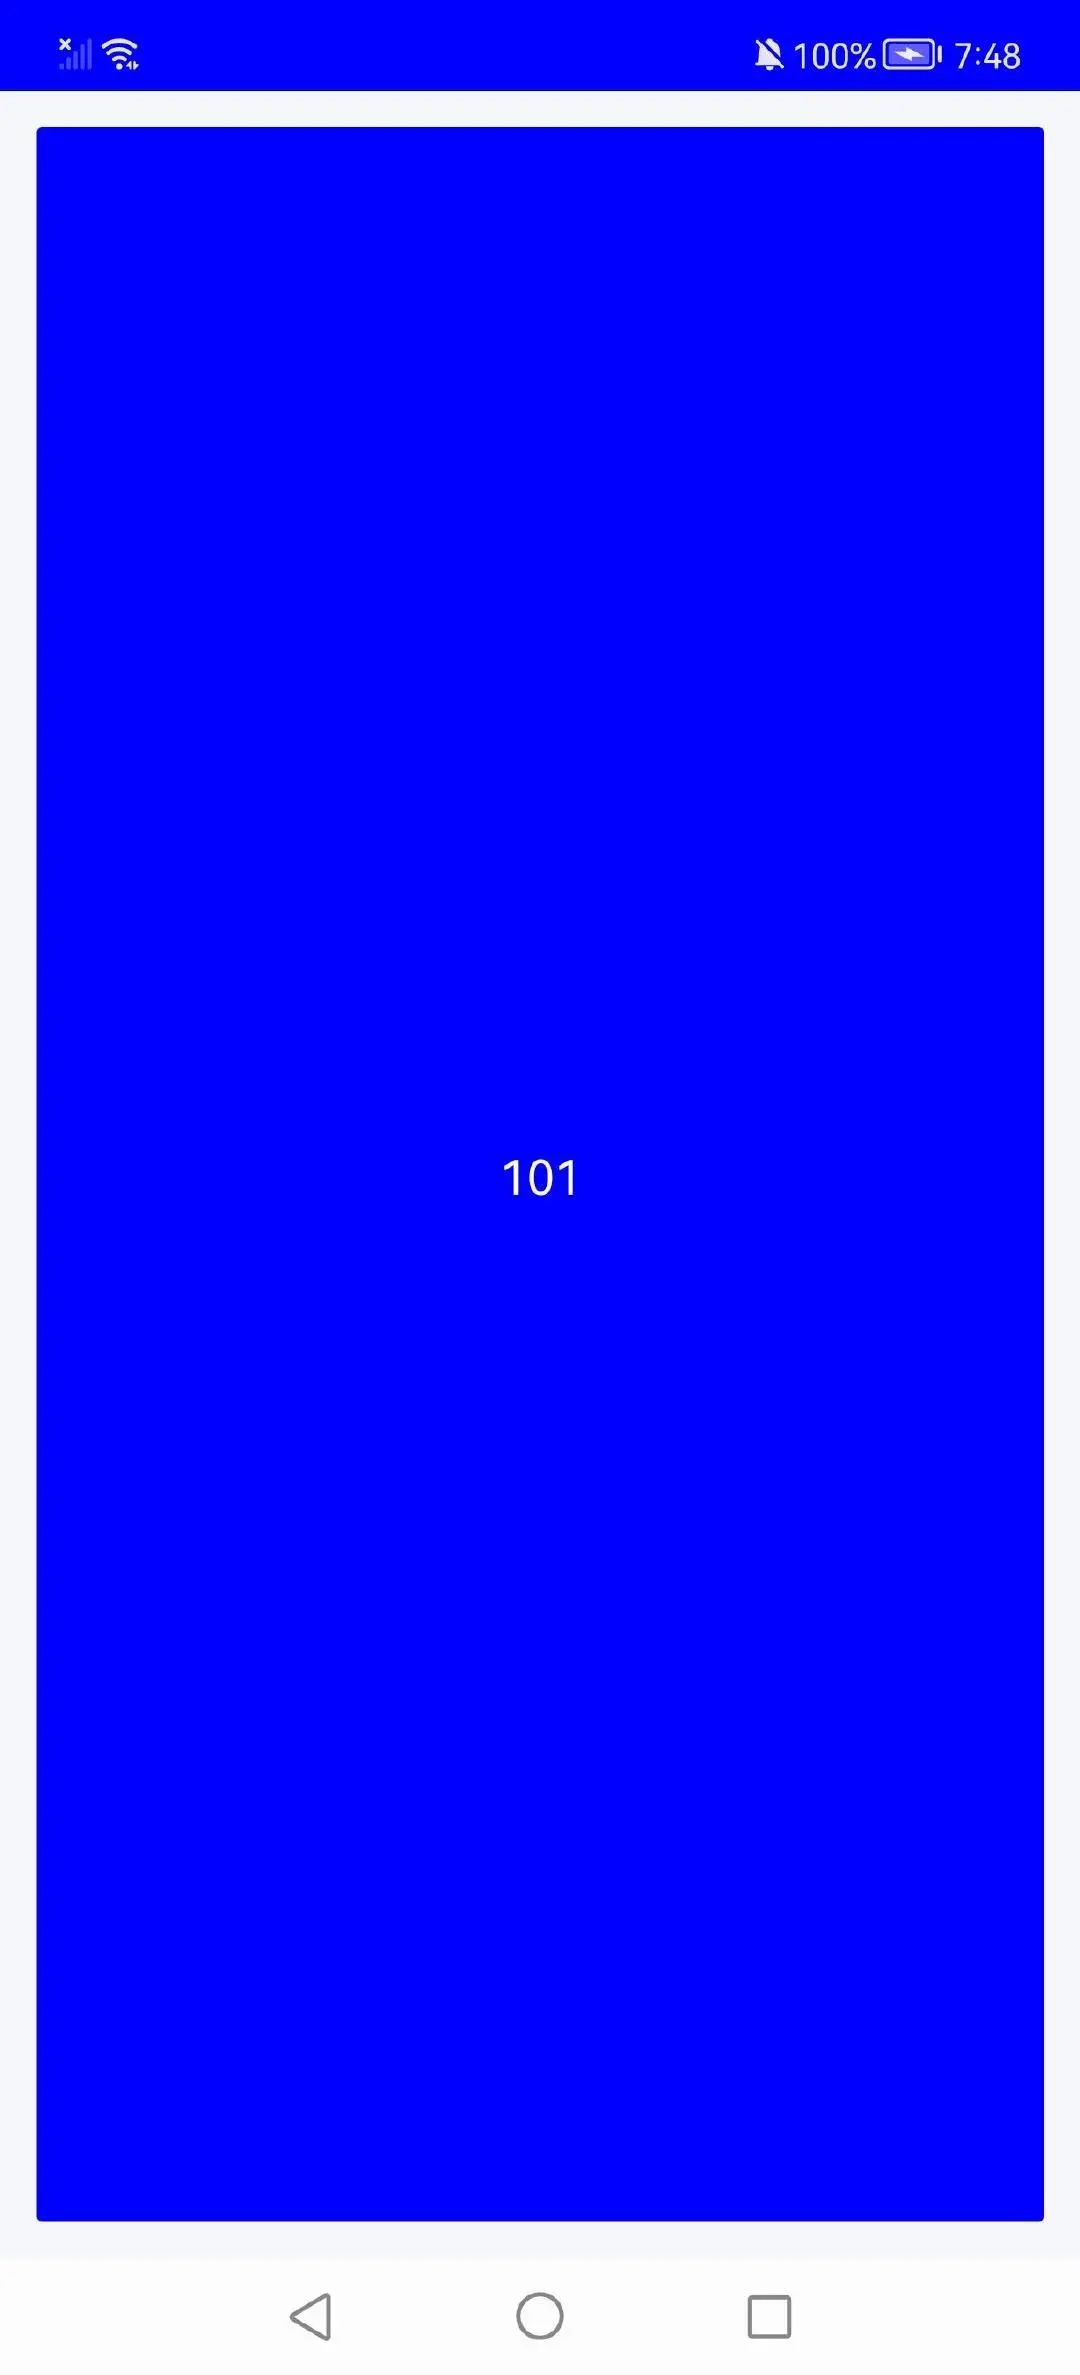
打印日志,可以看到,在添加尺寸修饰符后,约束条件为:
//添加尺寸条件后的约束
Constraints(minWidth = 1146, maxWidth = 1146, minHeight = 1620, maxHeight = 1620)
而无尺寸修饰符时的约束为:
//没有尺寸条件时的约束
Constraints(minWidth = 0, maxWidth = 1146, minHeight = 0, maxHeight = 2381)
对比发现,设置尺寸修饰后,约束条件发生了变化,minWidth和maxWidth、minHeight和maxHeight分别为同一个值。
子元素在测量时,由于约束条件中宽、高最小值,最大值为固定值,限定了子元素的宽高为约束的宽高,测量后的尺寸不再是我们期望的值。
此时,我们需要重新创建子元素的约束条件:
//设置约束最小宽度和最小高度为0
val childConstraints = Constraints(0, constraints.maxWidth, 0, constraints.maxWidth)
使用重新定义的约束条件进行测量,子元素的测量尺寸恢复正常。
// 使用新的约束条件测量子元素的尺寸
val placeable = measurable.measure(childConstraints)
添加竖直方向滚动能力
最后,给布局添加竖直方向的滚动能力,需要明确的是:竖直方向可滑动的前提条件是布局内容的高度大于布局的最大高度。
Compose给我们提供的verticalScroll 和 horizontalScroll 修饰符提供了一种最简单的方法,可让用户在元素内容边界大于最大尺寸约束时滚动元素。
我们使用verticalScroll修饰符来给布局添加竖直滚动能力。
CustomLayout(modifier = Modifier
    .background(Color.Gray)
    .fillMaxSize()
    .padding(12.dp)
    .verticalScroll(rememberScrollState()) //添加滚动修饰符
) {
    for (i in 1..100) { // 增加子元素的数量,使内容高度超过布局的高度
        Box(
            modifier = Modifier
                .size(67.dp, 36.dp)
                .background(
                    color = Color.Green,
                    shape = RoundedCornerShape(2.dp)
                ), contentAlignment = Alignment.Center
        ) {
            Text(text = "10${i}", fontSize = 16.sp, color = Color.Black)
        }
    }
}
然而,添加verticalScroll后,屏幕中没有展示出内容。
//最大高度约束为Infinity(无限大)
Constraints(minWidth = 1146, maxWidth = 1146, minHeight = 2381, maxHeight = Infinity)

val layoutWidth = constraints.maxWidth
val layoutHeight = constraints.maxHeight

//上边距为无限大的一半,即无限大
if (contentHeight < layoutHeight) {
    edgeTop = (layoutHeight - contentHeight) / 2
}

//layout布局高度为无限大
layout(layoutWidth, layoutHeight);
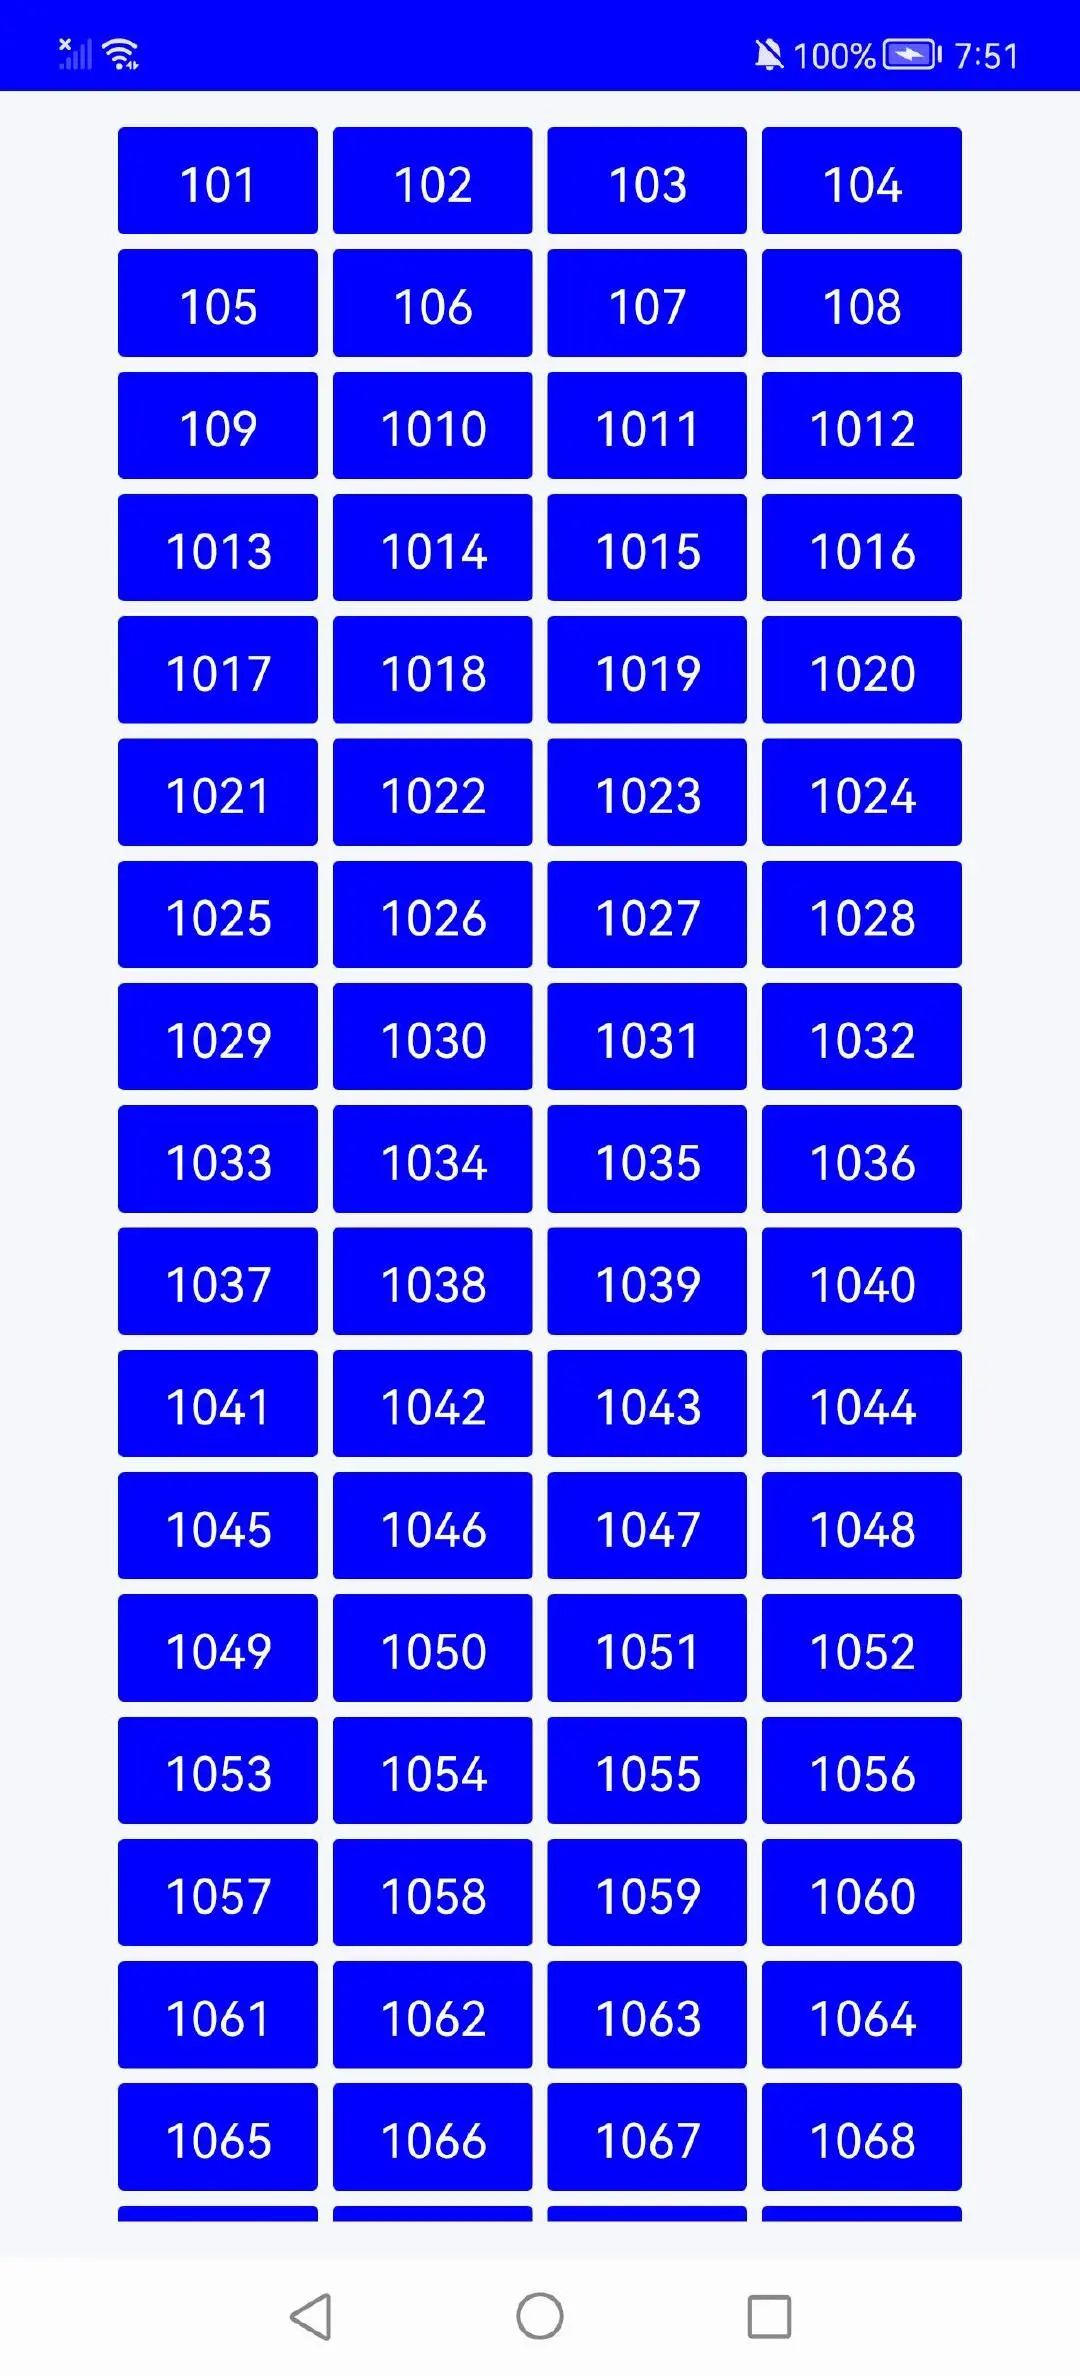
重新确定布局高度计算方式,布局高度取子元素总高度与约束最小高度的最大值
val layoutHeight = max(contentHeight, constraints.minHeight)
最终效果如图
小结
Compose使用Layout可组合函数实现自定义布局,整体流程和View中自定义布局大致相同,都需要两个主要步骤:
- 测量子元素在父布局约束下的大小;
- 在父布局中放置子元素;
需要注意的是:
- Compose只允许测量一次,对某个元素进行多次测量,会抛出异常;
- 父布局的约束条件会随修饰符的不同而变化,测量子元素时根据需要创建合适的约束条件;
- layout(小写开头)方法设置布局尺寸时要选用正确的宽度和高度;
完整代码如下:
@Composable
fun CustomScreen() {
    Surface(
        color = MaterialTheme.colors.background
    ) {
        CustomLayout(modifier = Modifier
            .background(Color.Gray)
            .fillMaxSize()
            .padding(12.dp)
            .verticalScroll(rememberScrollState())
        ) {
            for (i in 1..100) {
                Box(
                    modifier = Modifier
                        .size(67.dp, 36.dp)
                        .background(
                            color = Color(0xFFFF6633),
                            shape = RoundedCornerShape(2.dp)
                        ), contentAlignment = Alignment.Center
                ) {
                    Text(text = "10${i}", fontSize = 16.sp, color = Color.White)
                }
            }
        }
    }
}


@Composable
fun CustomLayout(modifier: Modifier = Modifier, content: @Composable () -> Unit) {
    Layout(content = content, modifier = modifier) { measurables, constraints ->
        //每行的高度是固定的
        //每个块的宽、高是固定的
        //内容总高度小于容器高度时居中,大于总高度时,可以向下滑动
        //从上向下布局

        println("约束条件:$constraints")

        //总行数
        var rows = 0
        //总列数-每行最多显示的子元素数量
        var columns = 0
        //start方向的padding
        var edgeStart = 0

        //top 方向的间距, 当子元素的高度超过父容器高度时为0;子元素的高度小于父容器高度时进行计算(父容器高度-子元素总高度)/ 2
        var edgeTop = 0

        // 子元素的总高度,包括子元素自身高度和子元素之间的间距
        var contentHeight = 0

        var isCalculated = false

        val space = 5.dp.roundToPx() // 水平和竖直方向间距固定为5dp

        var childX = Array(rows) { IntArray(columns) } //子元素 X 方向的位置
        var childY = Array(rows) { IntArray(columns) } //子元素 Y 方向的位置

        //重新创建子控件的约束
        //当父布局设置高度时,默认约束最小高度和最大高度相同,为设置的高度
        //直接使用默认约束条件会导致测量出来的子控件高度与父控件一样
        val childConstraints = Constraints(0, constraints.maxWidth, 0, constraints.maxWidth)
        val placeables = measurables.mapIndexed { index, measurable ->
            // 测量子元素的尺寸
            val placeable = measurable.measure(
                childConstraints
            )

            if (!isCalculated) {
                isCalculated = true

                var rowWidth = constraints.maxWidth
                val childWidth = placeable.width
                val childHeight = placeable.height

                // 根据父元素、子元素的宽度以及子元素间的间距,计算每行可以显示的子元素数量
                while (rowWidth > childWidth) {
                    rowWidth -= (childWidth + space)
                    columns++
                }
                //一行子元素占据的总宽度,包括子元素间间距
                val lineWidth = columns * childWidth + (columns - 1) * space
                //计算左右两侧的间距
                edgeStart =
                    (constraints.maxWidth - lineWidth) / 2

                rows = (measurables.size + columns - 1) / columns


                // 计算子元素的总高度
                contentHeight = rows * childHeight + (rows - 1) * space

                //有了行数,列数后重新构造二维数组
                childX = Array(rows) { IntArray(columns) { 0 } }
                childY = Array(rows) { IntArray(columns) { 0 } }
            }

            //当前是第几行,第几列
            val row = index / columns
            val column = index % columns

            childX[row][column] = column * (placeable.width + space) + edgeStart
            childY[row][column] = row * (placeable.height + space)

            placeable
        }

        val layoutWidth = constraints.maxWidth
        var layoutHeight = max(contentHeight, constraints.minHeight)
//         layoutHeight = constraints.maxHeight

        if (contentHeight < layoutHeight) {
            edgeTop = (layoutHeight - contentHeight) / 2
        }

        layout(layoutWidth, layoutHeight) {
            placeables.forEachIndexed { index, placeable ->
                //当前是第几行,第几列
                val row = index / columns
                val column = index % columns
                val x = childX[row][column]
                val y = childY[row][column] + edgeTop

                placeable.place(
                    x,
                    y,
                )
            }
        }
    }
}
